I spend a lot of time looking at other artists work and, in the past, spent much time competitively pricing my work with those artists' work. That was until I realized that my process is often different than theirs. The other day I had this epiphany; if I didn't realize this without much contemplation how would my customers? So a post about my process and what I offer my customers when they purchase from Busy Little Elf was probably in order.
Step one of the process for Paperclay ornaments and other sculpts is to build an armature.
I had to dig to actually find photos of this part of the process, it's second nature so I never think about photographing this step. In this photo, I am using store bought wooden shapes. These are the easiest and fastest to use and saves time (even though I do now have the ability to design my own shapes and cut them out) As you can tell, some of these have been soaked in water and shaped (some bent, some actually broken to achieve the shape that I want). A metal hanging loop is made out of wire and attached with glue and some pencil work is done so, when I cover the piece with paperclay, I have an idea of what I will sculpt.

Step two is to apply paperclay to the armature.
In sculpts like these, it takes more time than the ornaments. Bodies have to be built up arms added and formed, clothing sculpted, facial features, etc. It is really fun to play in clay. Generally speaking, I try to let the character form on his own. I usually have a rough idea of what I'm going for but I let the piece develop its own personality. At this stage, you often have to let the sculpts dry so you can add more to them. Sometimes you get small surface cracks which get repaired with any new additions of paperclay.If there are any eyes or other parts that will be set into the paper
clay, it happens before the piece dries(although I like to do it as it
is drying not when it is still freshly sculpted). After fully drying, the piece is checked one last time for cracks and they are repaired. If I do a thorough job, I usually don't have to worry about cracks again.

Most of the paper clay artists whose work I love tend to use much simpler armatures than I do and focus on the finishing details. Sculpted details take time.The plus to using a simpler sculpt is it is much easier to cover the armature which ultimately saves time and allows a lower price point. I've thought about doing this to keep my prices low but my characters wouldn't be the same and, artistically, I'm just not willing to sacrifice the character. Plus, I like the way the sculptures feel in my hand with their smooth edges and flowing details.


Step three consists of sanding the dried sculpture.
I spend way to much time sanding but I like my pieces to 'feel' good so
I sand until they are smooth and have no noticeable imperfections.
Then I wet my hands and rub the entire surface until it 'feels' right to me.
(a bit weird, I know, but the tactile experience of my work is just as important to me as the visual)
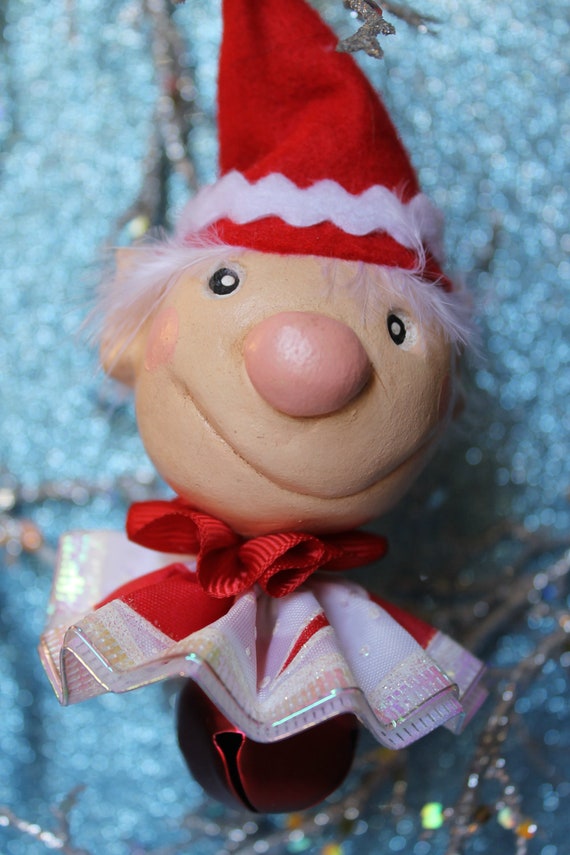
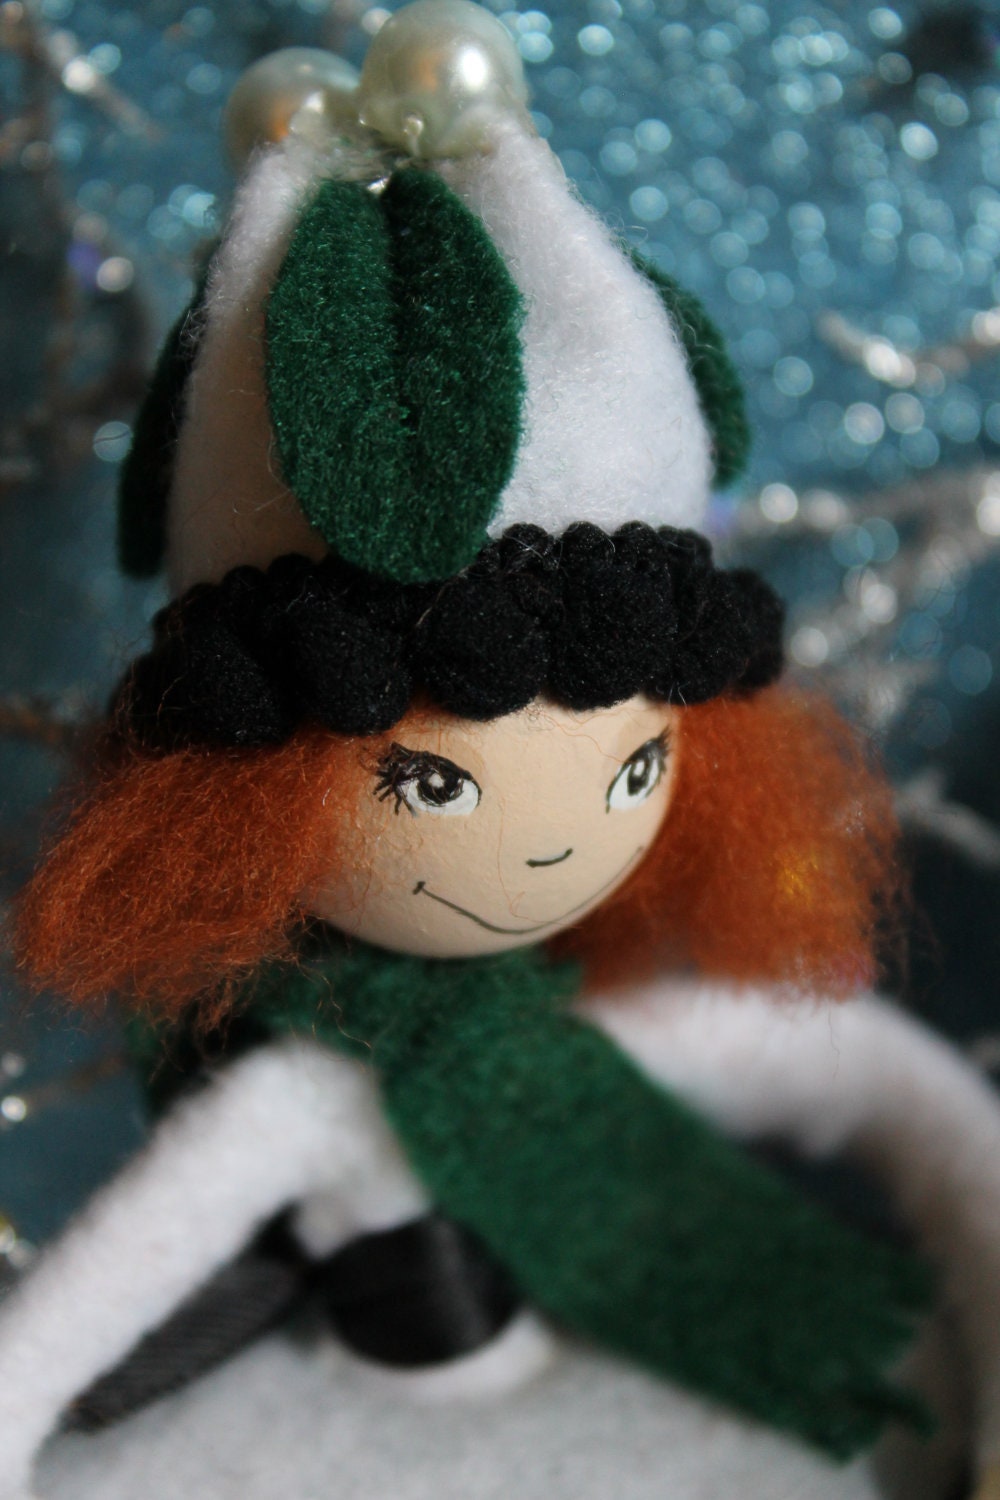
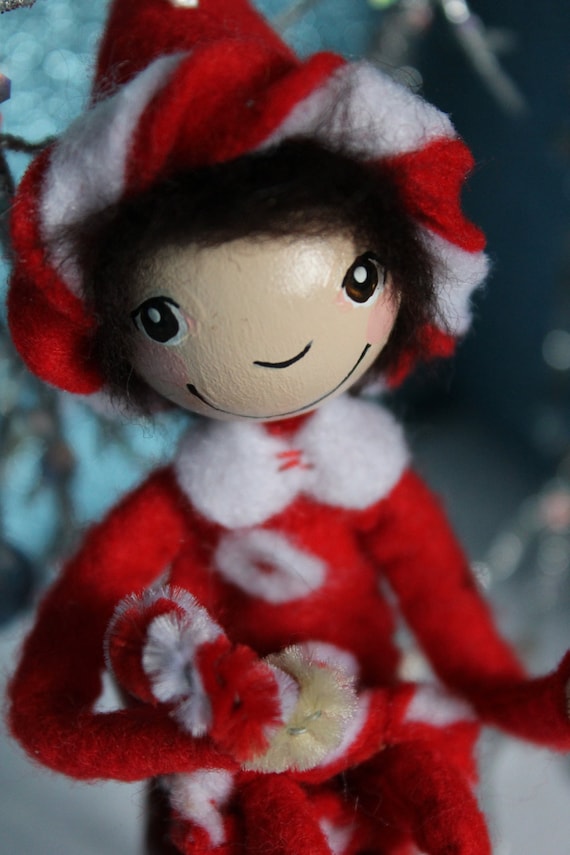
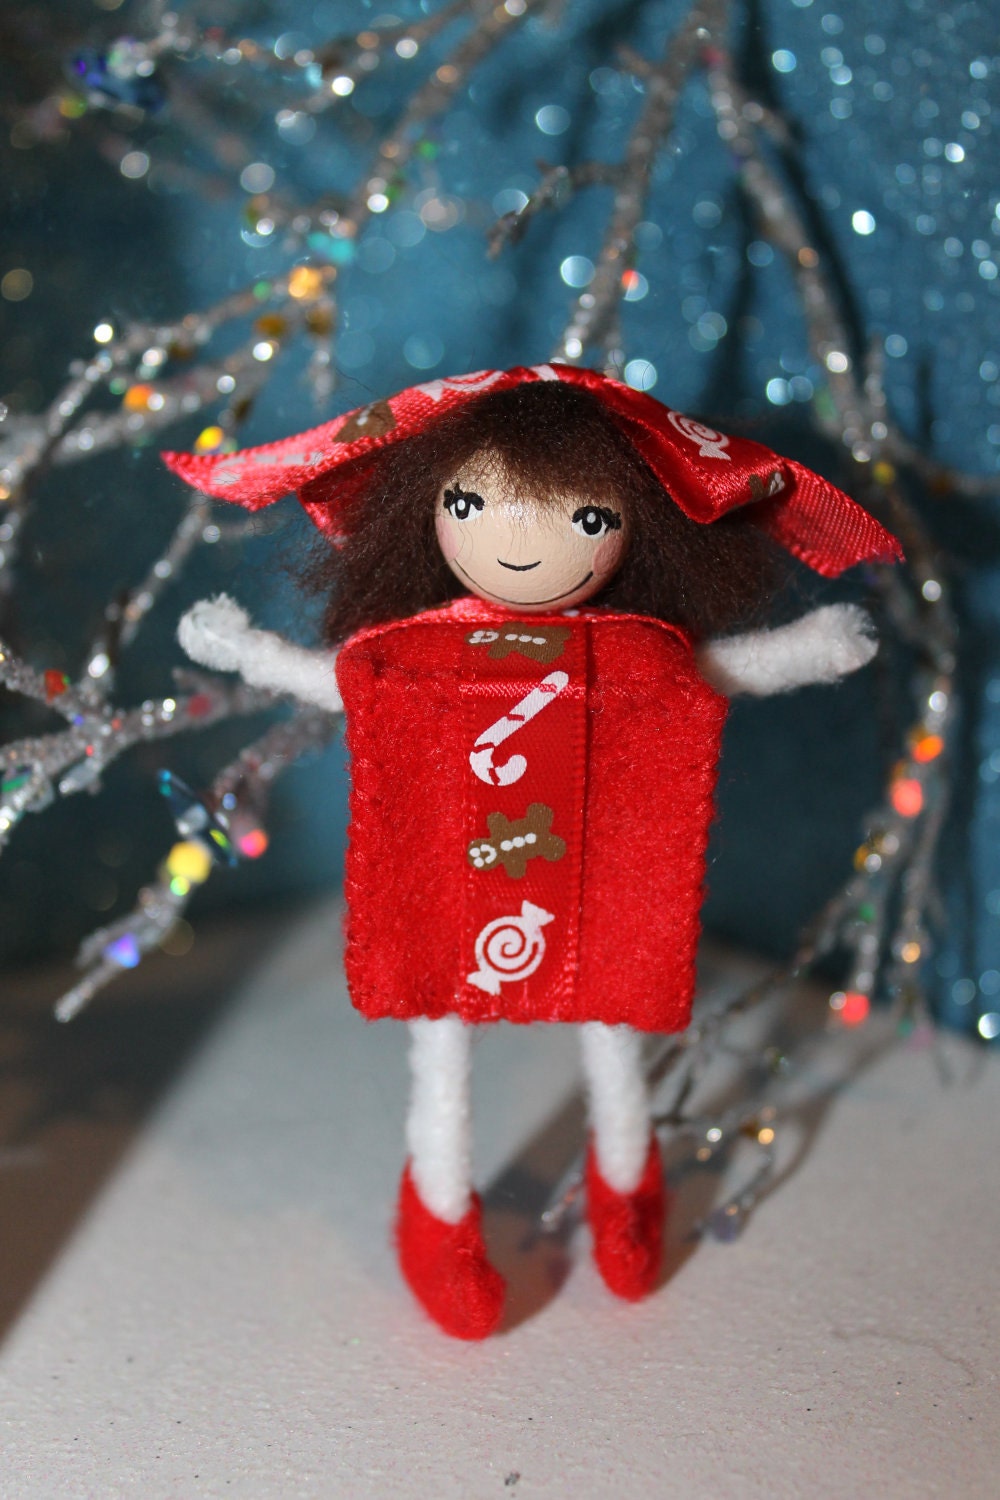
Step four and the painting begins.
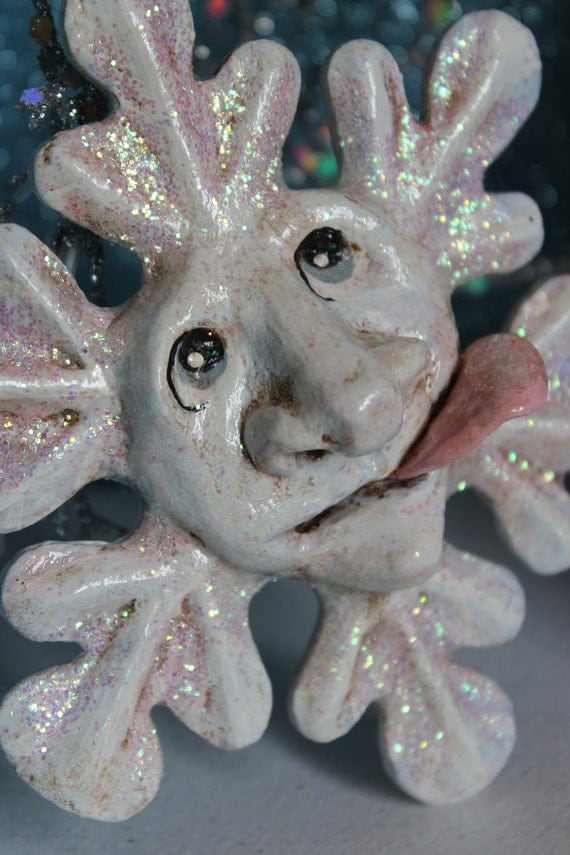
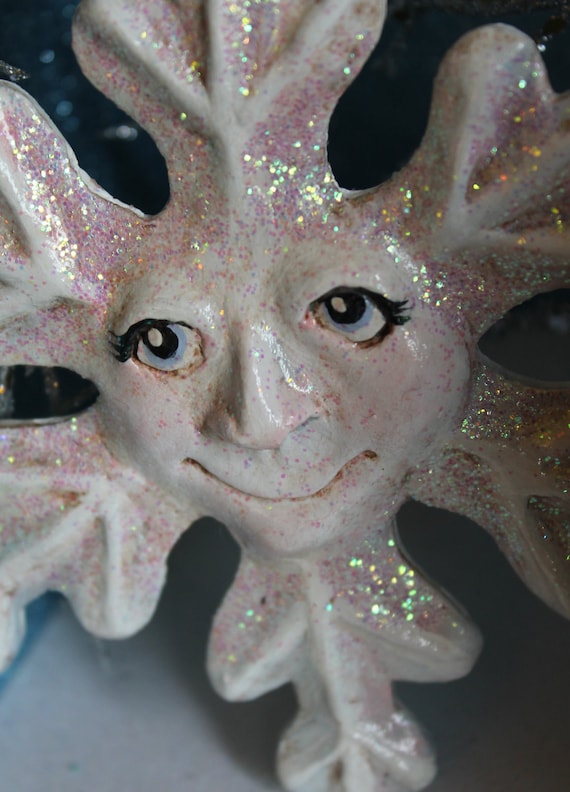
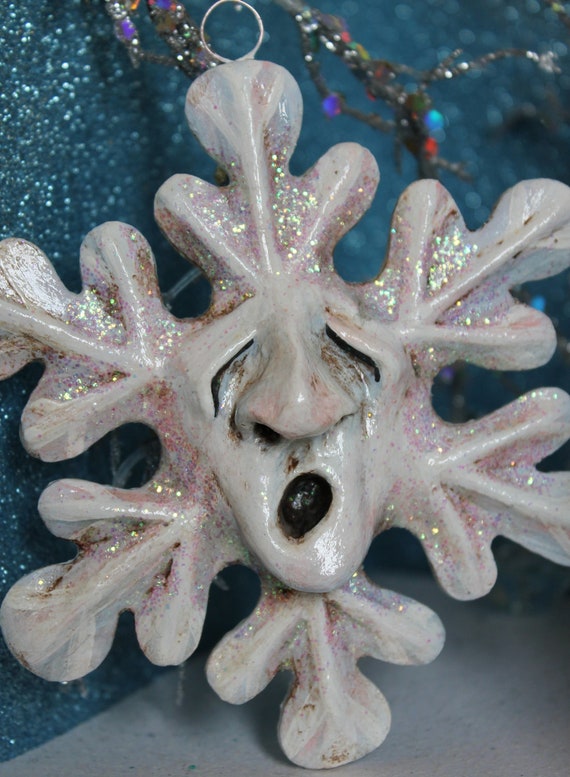
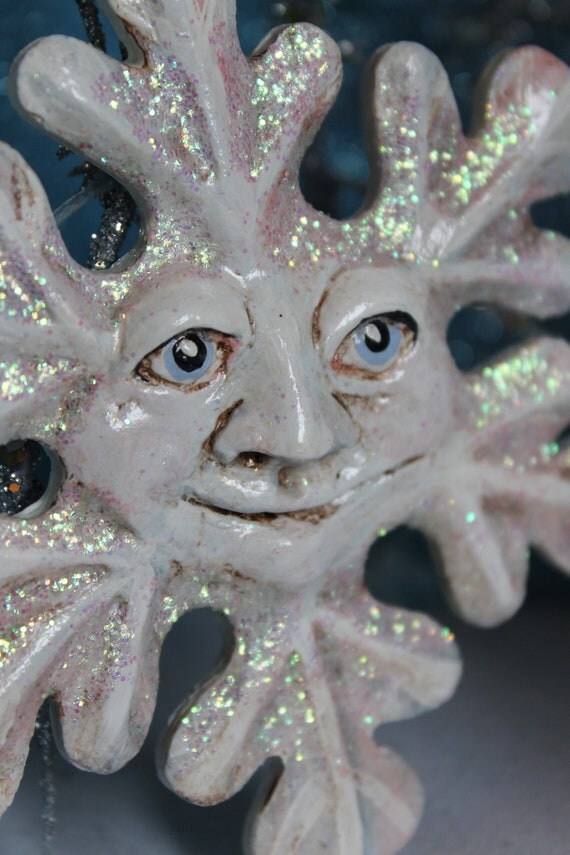
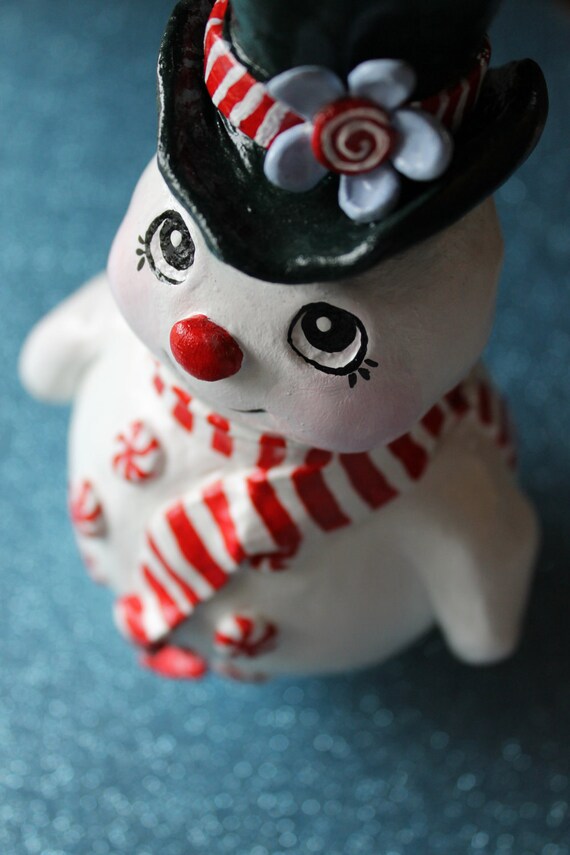
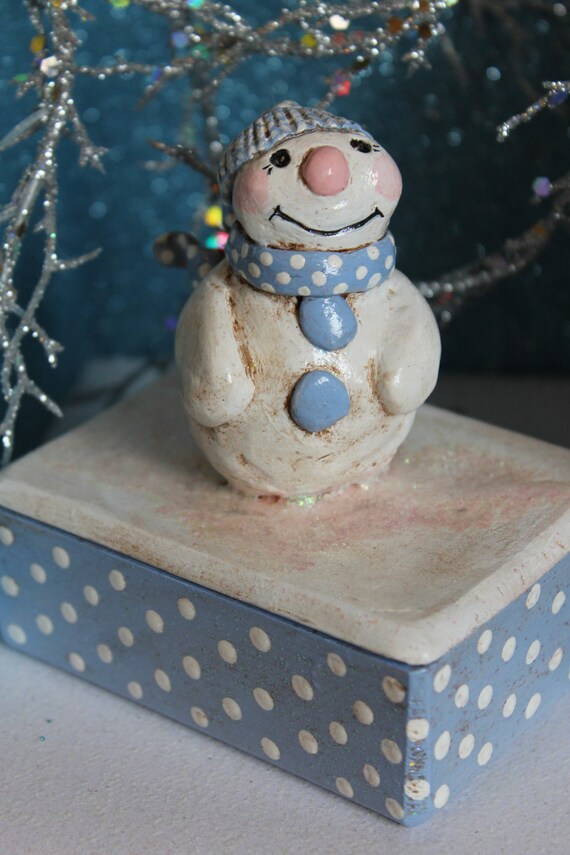
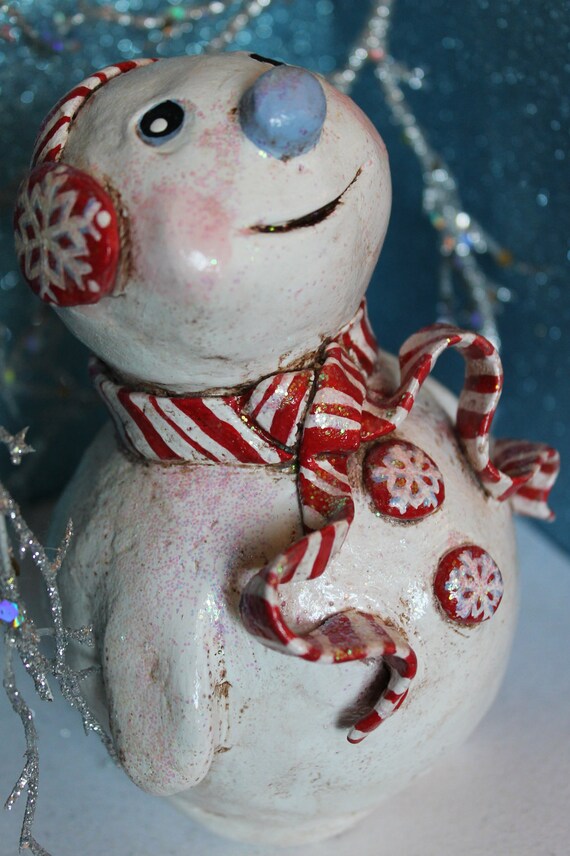
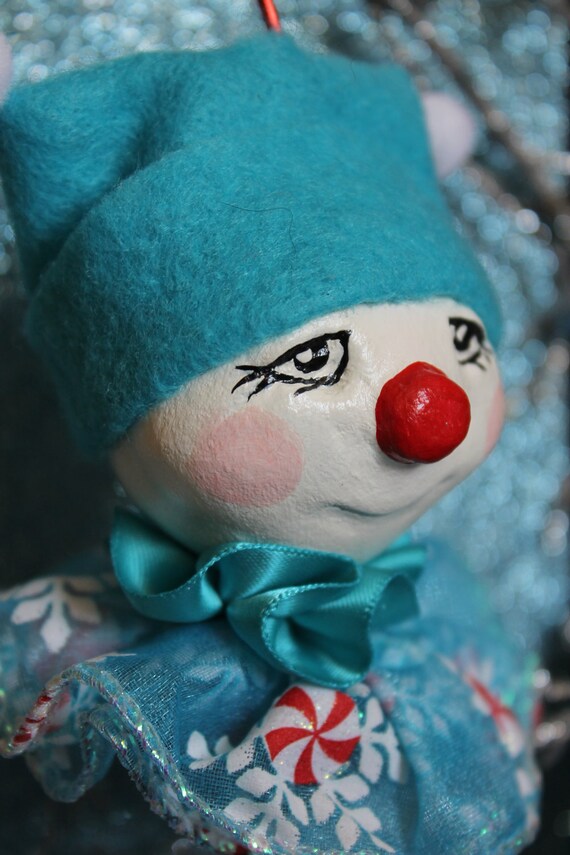
This is where I am a bit different than most of my competition. I start with a white gesso coat and then lay in solid colors from there. Many of the colors need a good two to three coats to look good. The more colors involved the longer the painting process. I don't limit my palette (how many colors used). After all the solid colors are laid in, I go back and do subtle shading or add detail to the solids. Often the details have to be painted two to three times to be sure the colors are opaque. (again, some of my competitors just do their details in one coat on top of the solid base. It looks okay to most people but since I want to offer an heirloom quality piece, one that can be handed down, I like to pay close attention to the details) Is there anything wrong with using fewer solid colors with limited painted details? Absolutely not, I collect many pieces by artists that do just that, it just doesn't take as long to produce which means the price you pay should be more reasonable.

Step five happens after all the painted features are done.
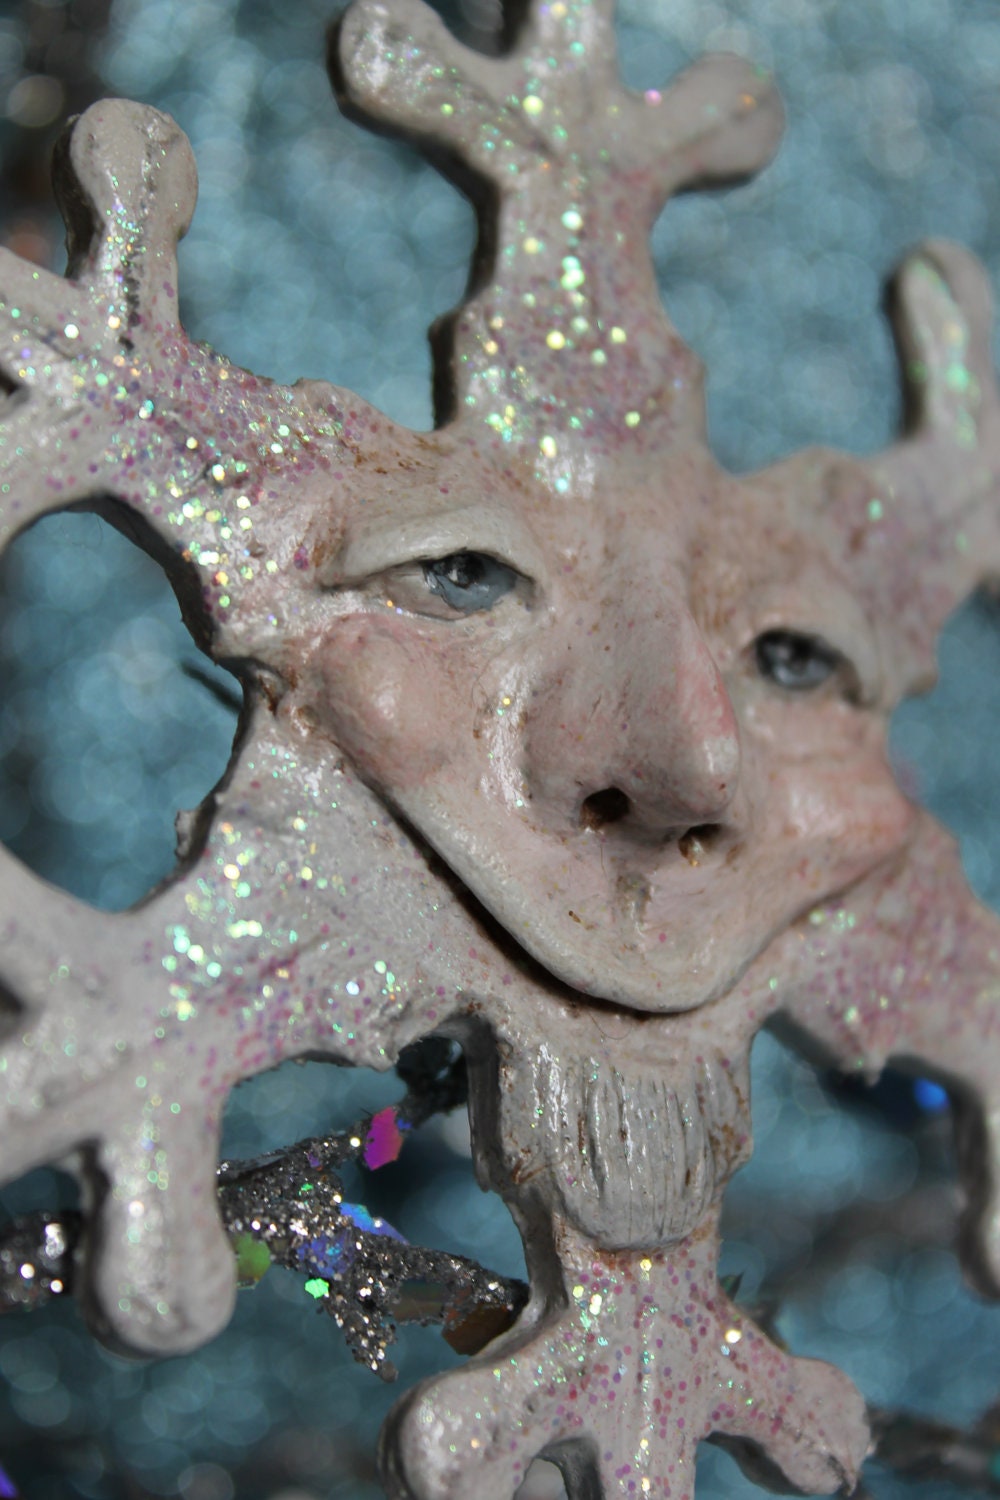
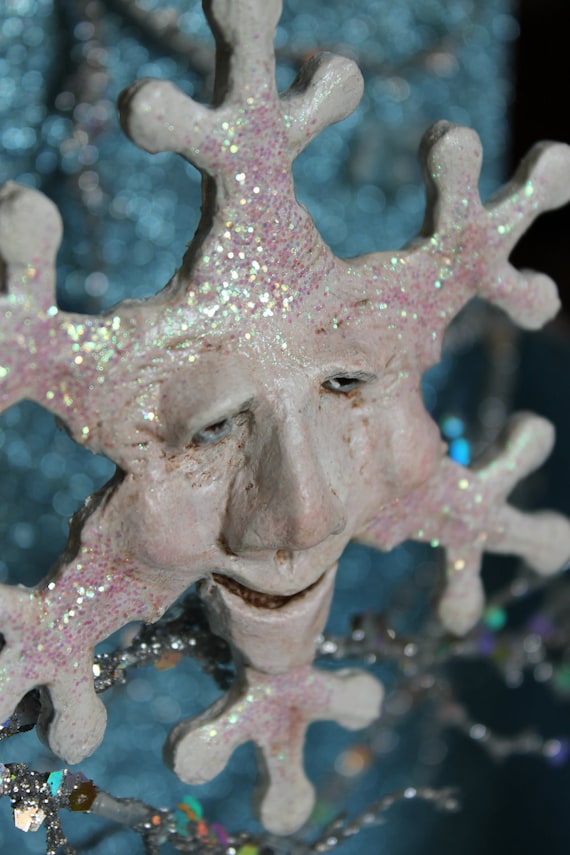
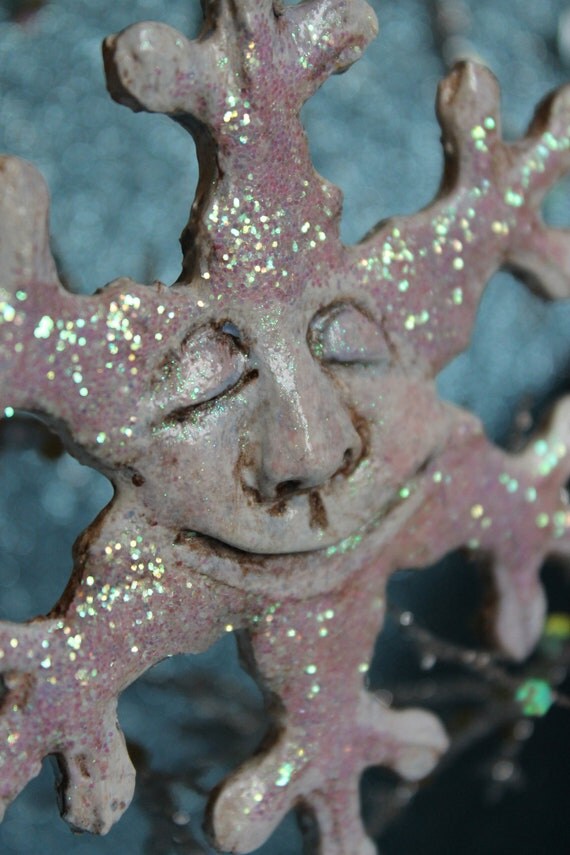
A coat of varnish is put over the entire painted surface and, once it dries, an antiquing gel is painted over the entire surface and is then wiped off until the desired effect is reached. This antiquing really makes sculpted details *pop* and adds depth to the entire piece. After another coat of a UV protectant varnish, the piece is almost done.
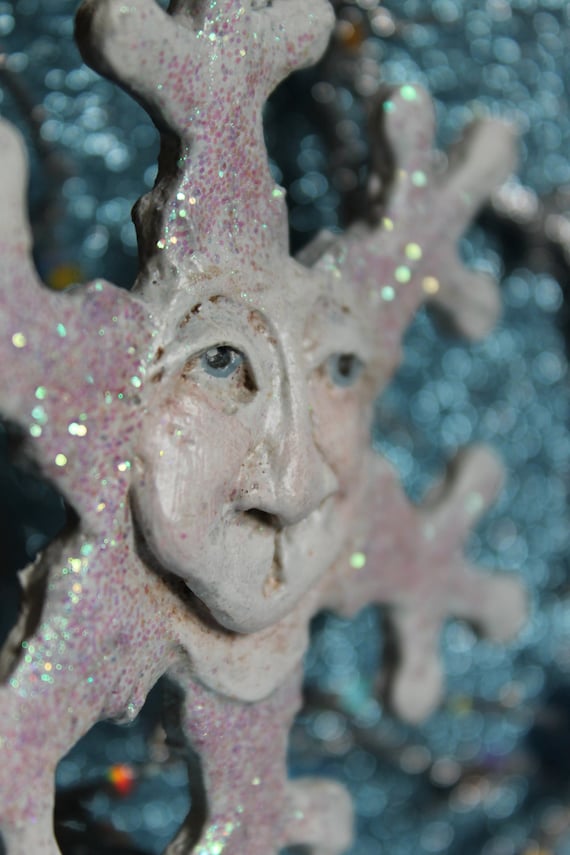
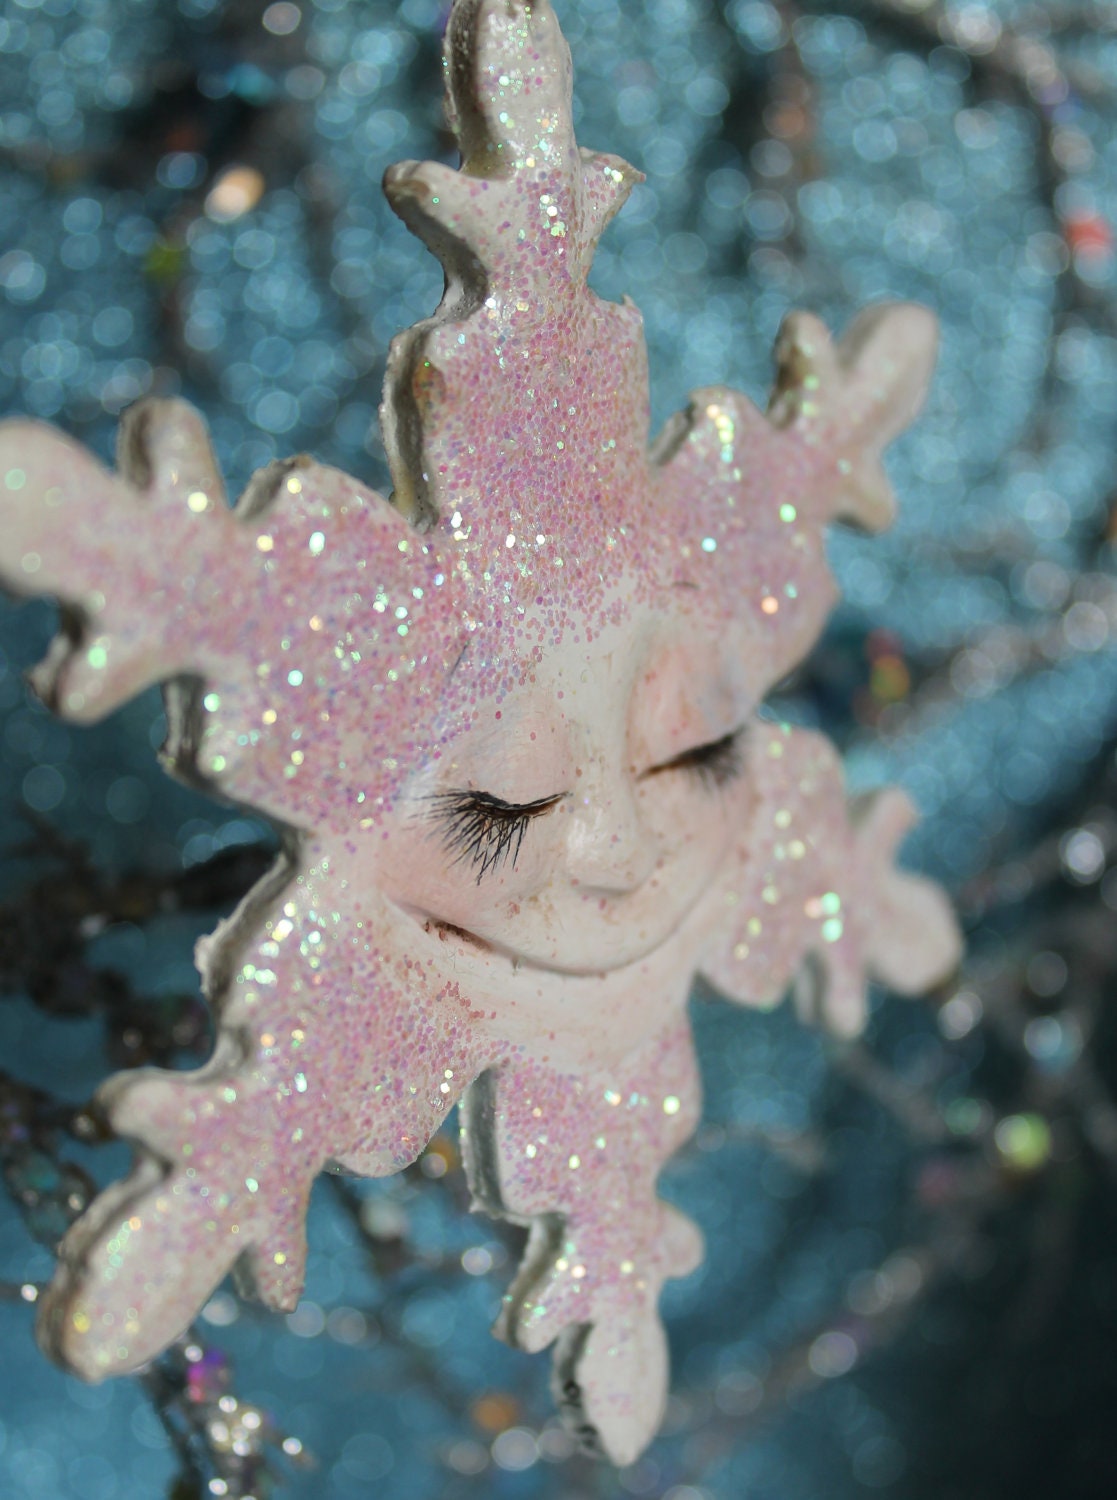
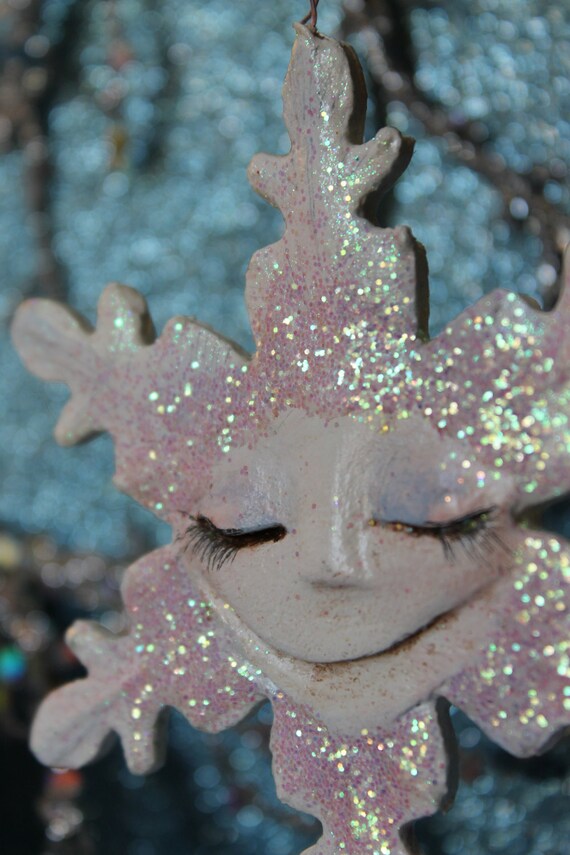
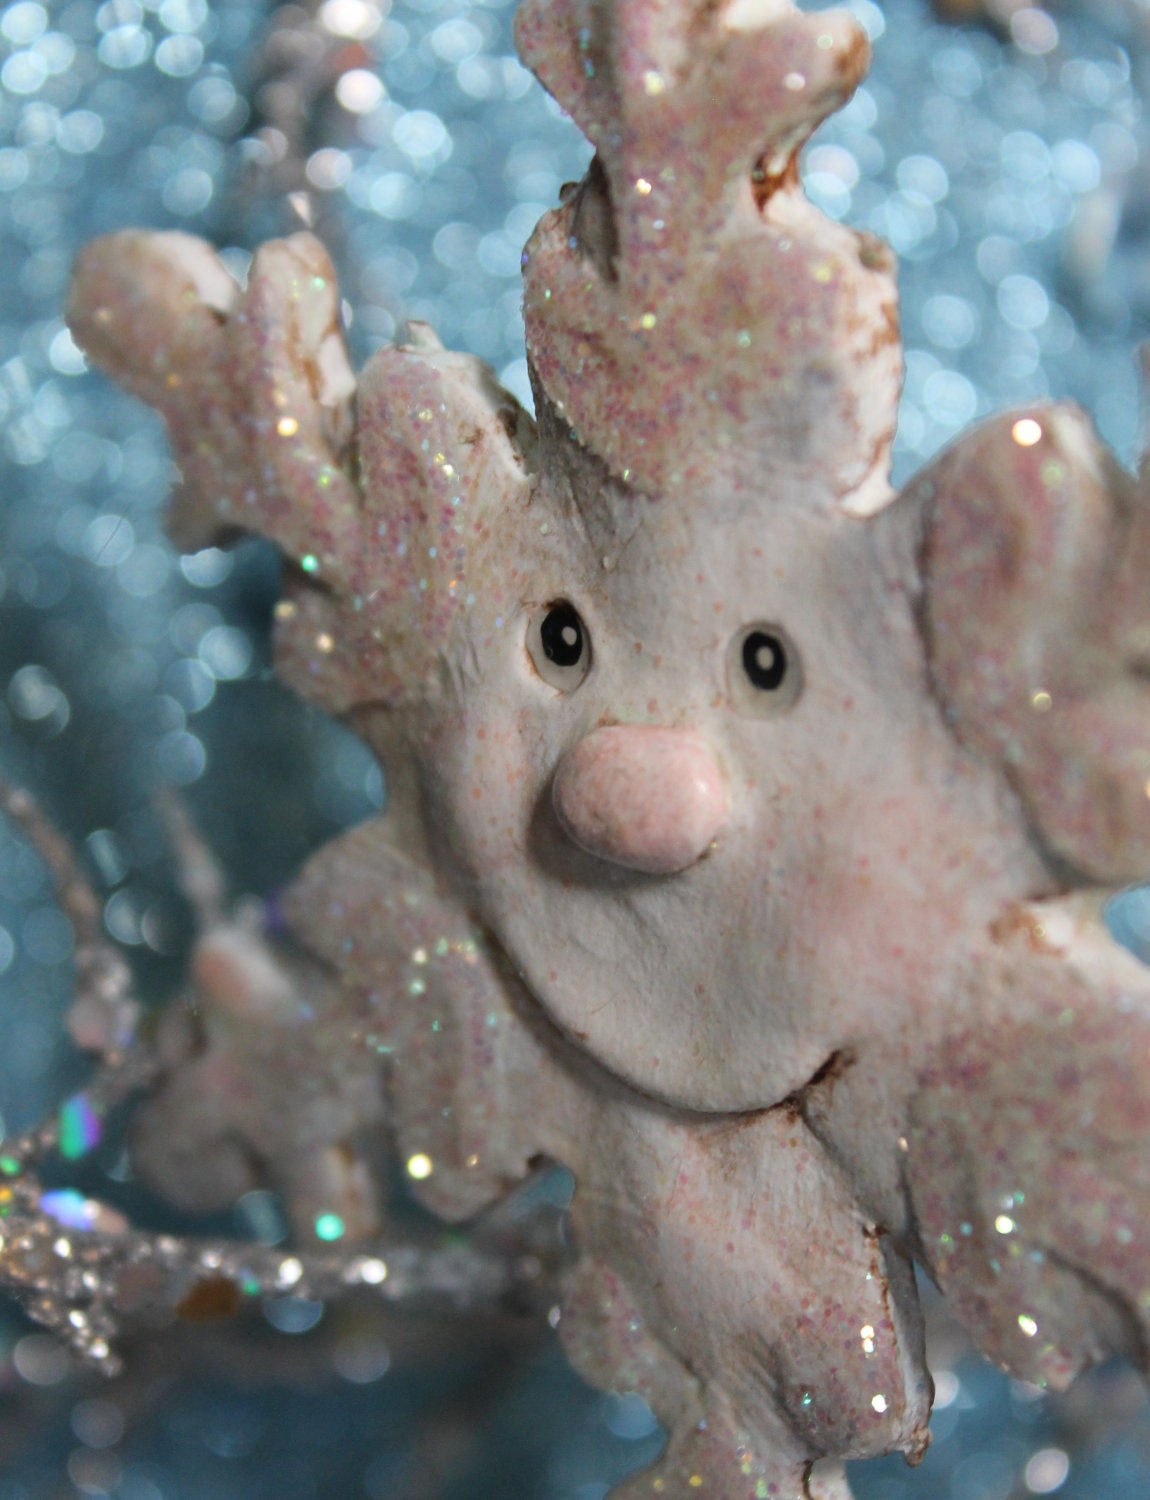
The final step includes attaching any separate pieces (the white rabbit's pocket watch), any mixed media details (the crepe rabbit's cuffs and collar), glitter, chenille, and felt bottoms on the bases. Obviously, not every piece has all these different finishing touches but most have at least one or two. The more that gets attached the longer it takes. Most of my favorite artists use many finishing touches. What can I say, I'm a sucker for the attention to details!
In addition to all these steps I take to create each piece, my attention to detail continues to the packaging of the piece. Each piece is packaged in a gift box where possible, some of my larger sculpts don't have boxes they fit into but they are packaged in a shipping box with beautiful snowflake tissue. I'll do another post with examples of the actual Busy Little Elf packaging, but the attention to detail translates to that aspect as well as the creation of the pieces.

Another aspect of Busy Little Elf that many people don't realize is that I stand behind my pieces. Even if it has been years since you purchased the piece, I am willing to do minor repairs free of charge and major repairs for a small charge(actual repair charges depend on how severe or time intensive the repair is)Shipping to me would be the customer's responsibility but return shipping would be complimentary. I can even try to recreate a piece if one is irreparably damaged or lost. (It happens.) The cost of this would be reasonable and determined on a case by case basis. Again, I consider all my pieces to be heirloom pieces which means that they need to last for a very long time and, preferably, in tip top condition. The only thing that would change this is my untimely death, which I have no plans of so we should be good for another 30 or 40 years, maybe more, God willing ;O)