Pages

Wednesday, May 30, 2012

In the Garden


The very first poppy of 2012
Salvia
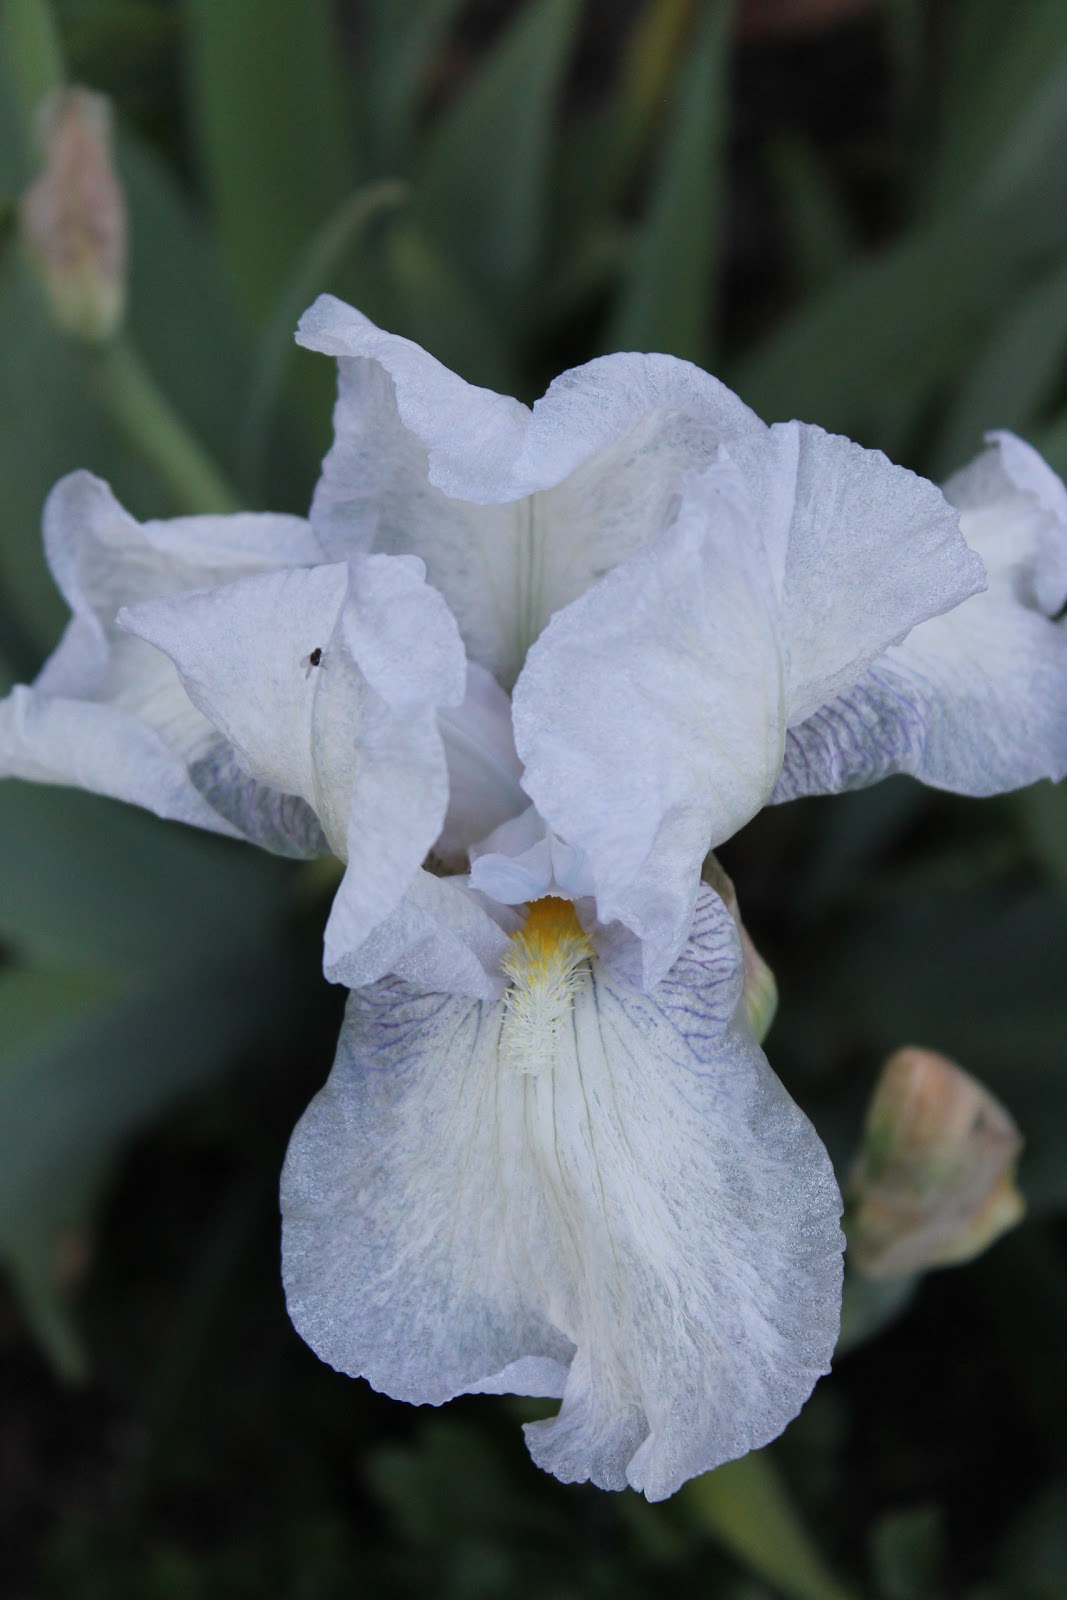
The first year blooming for this gorgeous iris
Oriental Poppy: Coral Reef
Peony
Oriental Poppy: Princess Victoria Louise
Foxglove
The flower bed before the show
 I should be working on a number of projects around the house but I also need to get back into the habit of creating posts for the blog... so guess which won out? 

All of my poppies burst this weekend. Unfortunately, it was so hot they didn't last very long. I was lucky enough to get some beautiful photos of this year's show. I hope you enjoy them as much as I did :O)

The flower bed after the show

Sunday, May 20, 2012

A Little Chickadee

Here is the finished chickadee. It was done in time to get it to the recipient close to Mother's Day but I forgot I was going to post a photo of it when it was finished. Will be making more little birds soon, some whimsical some similar to this one (hopefully, I will be a little better at posting updates :O)
Finished Chickadee
before antiquing
Up next: My Flower Garden (poppies are blooming!)

Monday, May 7, 2012

Well Hello, Friend!


I'm back!

 I had two classes this semester. (Thank goodness I only had two.) They were extremely needy and required much more of my time than I had expected. That was the bad news, I was so overwhelmed with trying to do well in those classes that I was totally unavailable to my Etsy shop. The good news is, I am finished and now can devote some of my time to getting back to the important tasks at hand. (Gardening, loving on my little one and, of course, creating!)
 
In the Garden: The flower bed is looking GORGEOUS. Lush and Green. Anxiously awaiting my poppies. The Iris are blooming but I'm itching to see those glorious warm shades of poppies glowing in the sunshine. My peony has quite a few buds but it has been an odd spring so I hope they will actually fully mature.

 In the Veggie Garden: The Romaine and Lollo Rosso lettuce are growing like crazy! I can't keep up with it. The Spinach has started taking off, as have the peas and Swiss Chard. The Potatoes look like they are beginning to sprout (at least I can see some leaves breaking the surface ). My tomato seedlings are beyond the seedling state, I have to figure out where to plant these things in a short few weeks!

My husband finished pulling up the grass between the raised beds. Now I need to finish clearing any stray grass, put down weed paper, cover it with a layer of garden soil, plant the Irish moss, line the sides with wood discs and place footprints down the center. The worse part will be waiting for the Irish moss to spread to cover the area!


In the Studio: Trying to get back into the swing of things. I need to start designing all of my Christmas 2012 designs. I only have 3 months to get everything done as school starts up again in September. I am currently finishing a little bird. He will be a chickadee when painted and I'll be sure to post a quick update before he goes off to his new home (he's a Mother's day gift, shhhhh!)

Now, I must be off, I have a home to clean and projects to start. Until next time!

Enjoy the beautiful weather!

Friday, April 6, 2012

A New Look


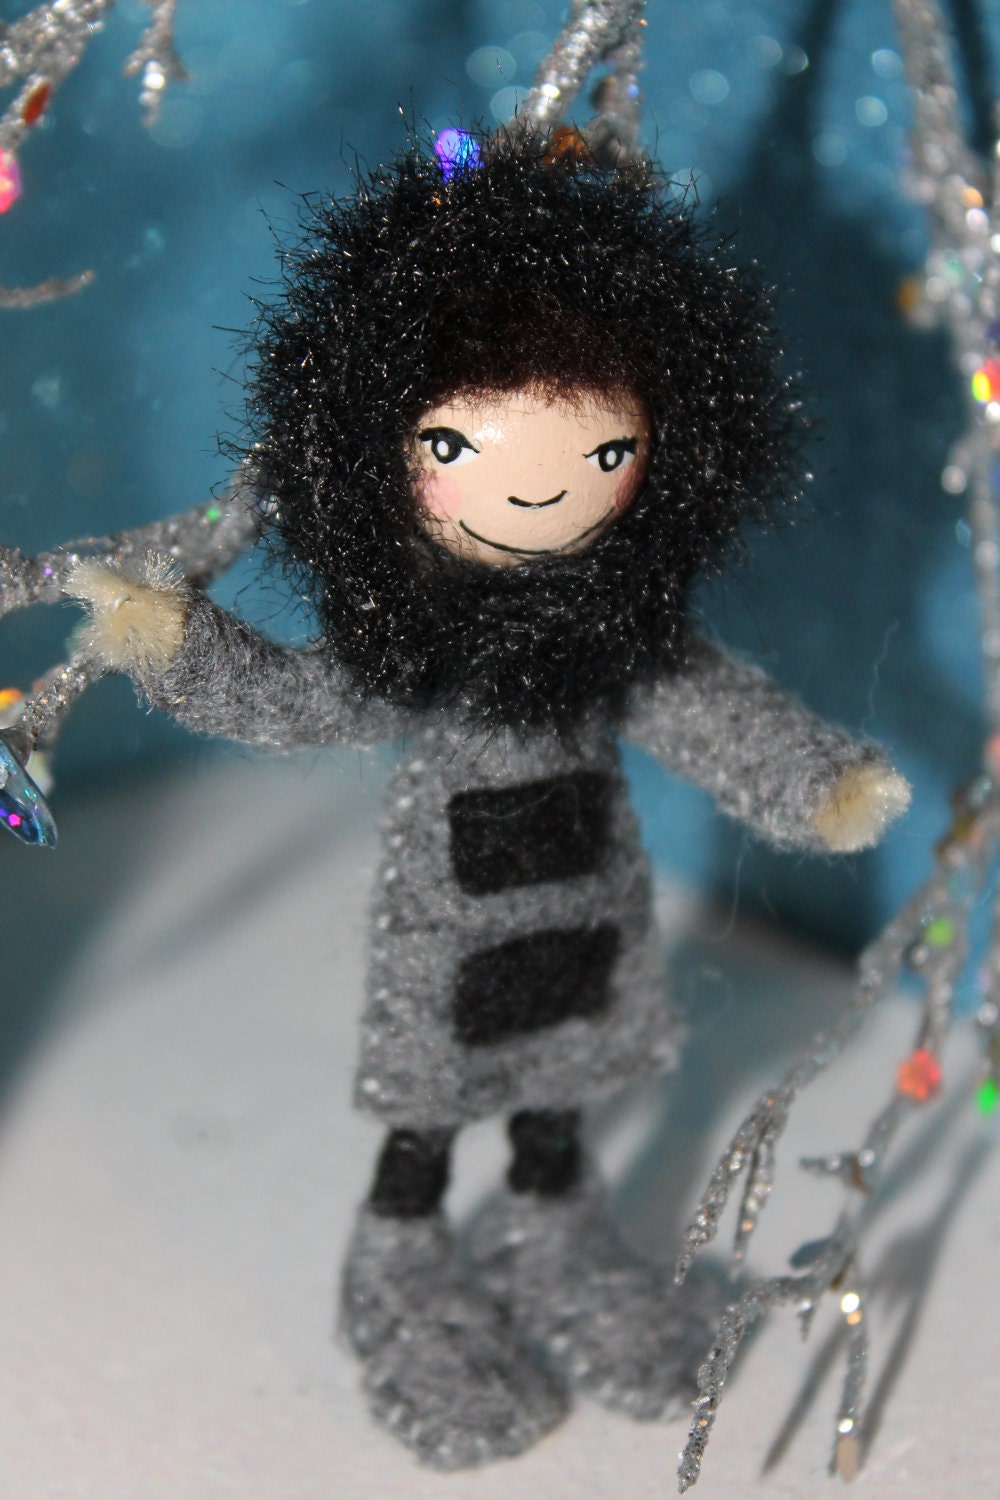
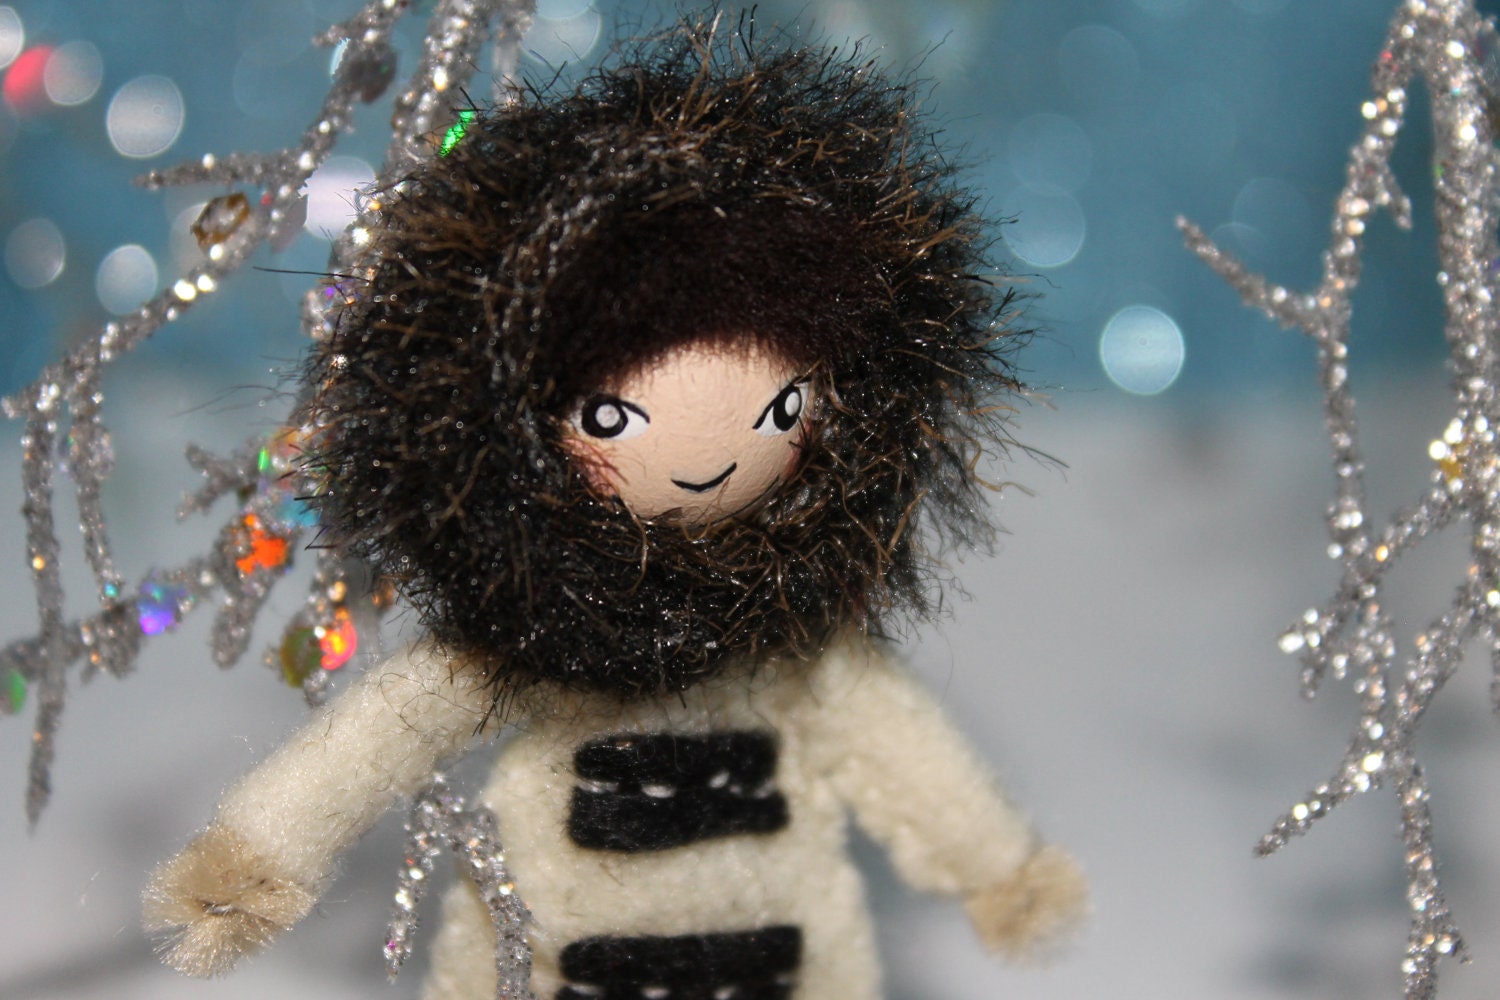
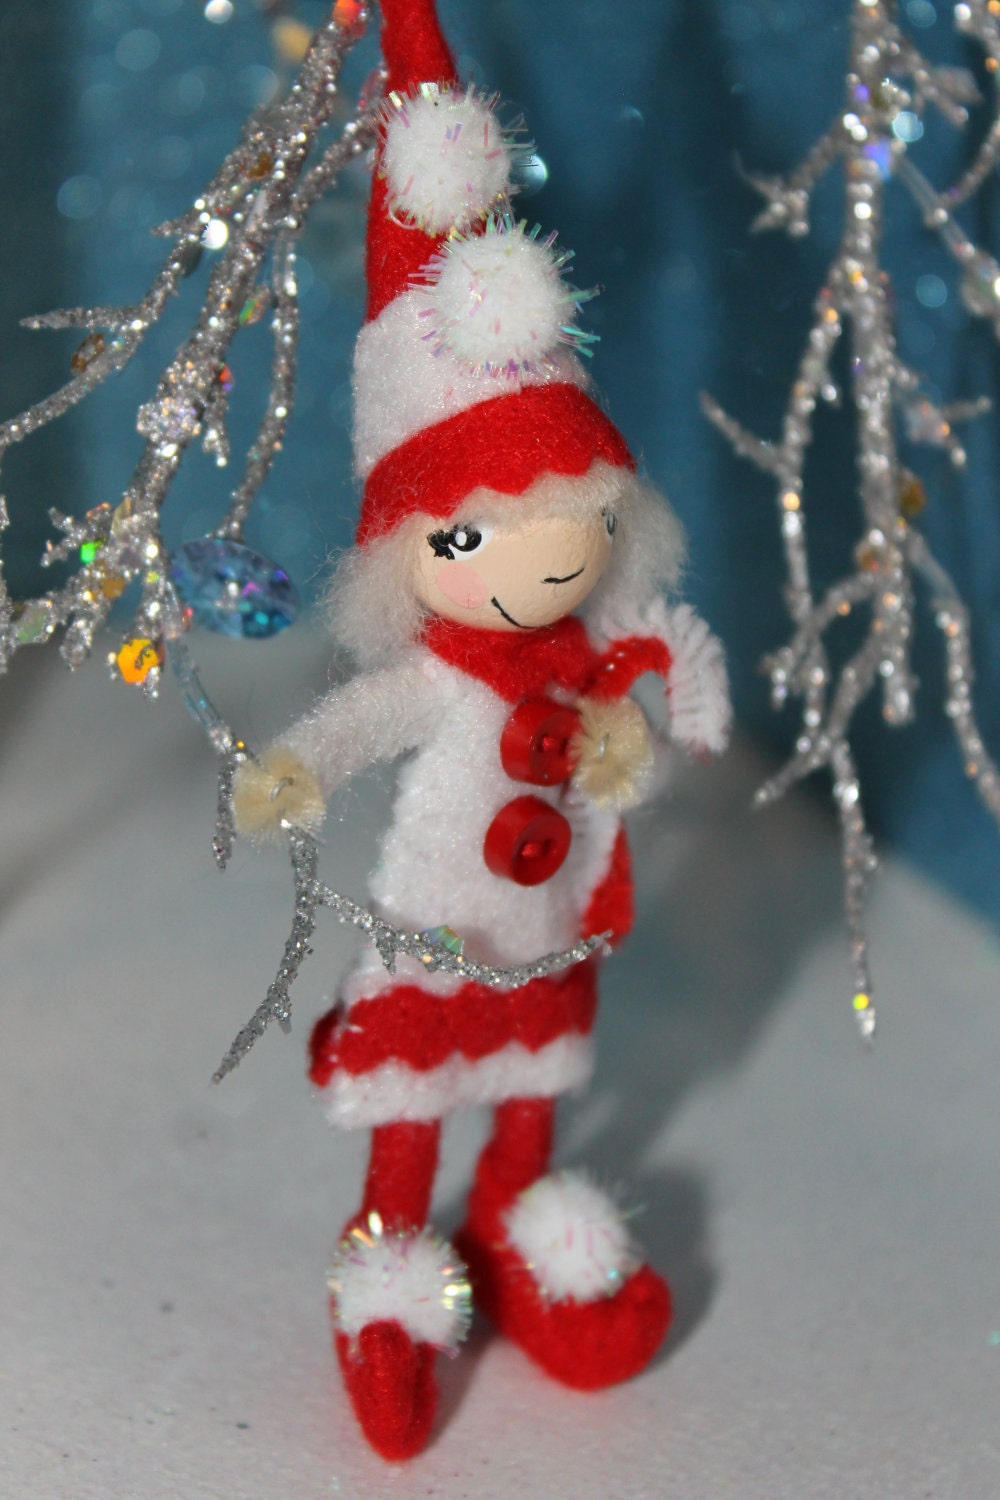
I am currently taking a marketing class. I decided it was time to really focus on my business since my son starts kindergarten in the fall. I will no longer have an excuse for not applying myself to the business in my "spare time". That said, I am working on the "re-branding" my shop in the few spare moments I currently have. These are the preliminary photos.


So far, I like them although I will probably keep refining the images until I have them just right. The whole idea behind the look is to create a sense of wonder or a magical feeling within the shop.

I have also been collecting some reference material that serves as the inspiration for new elf ornaments this year. I am really focusing on some characters that reflect Christmas of the 50's and 60's. As the designs come to fruition I will post photos. Now, onto Easter preparations.

Hope you have a Very Happy Easter!
Kelly

Saturday, February 11, 2012

Hungry Deer Will Eat Anything


Here is our 2011 Gingerbread House. 
 
It was just made from a kit, perhaps next year I will feel more inspired to make one from scratch. I've been staring at it for 2 months now. Occasionally, the little one would steal a piece of candy off of it and eat it. For the most part it just sat and collected dust. So I decided it was time to get rid of it. I always put off the disposal of food like products because it seems like such a waste. Then I had a thought. 
 
We have an overabundance of deer in our neighborhood. So much so that we recently have seen a larger than normal number of car meet deer accidents, a local vigilante stalking and killing them illegally in the middle of the night and the city council talking of culling the deer population. In the meantime, they are hungry, eating anything they can find, including confused sprouts.(As mentioned yesterday, we have had an inordinately warm and snow free winter) Why not, then, put the food like product, the gingerbread house, out to see if, in fact, the deer would eat it.

I had hoped to find part of the foundation or crumbs but we have nothing left and it snowed last night so any tell tale crumbs are currently blanketed. I'll keep my eyes open for any remnants in the neighborhood. While it isn't the healthiest of offerings to the neighborhood deer, at least they have a little something in their tummies today. I feel much better than just throwing it in the garbage dumpster. ( I'm sure I drive the neighbors nuts as I throw out our apple peels, cores and other tasty trimmings from our veggies and fruits for the wildlife. No doubt they would prefer I throw them in the dumpster. Oh well, in a couple months I will put them into the composter! Once it's built that is:o)
 
 
Now I must go and enjoy our snowstorm. 
It's not all that impressive but at least it is snow and I have missed it so!

Friday, February 10, 2012

A New Start

newest primrose - unusual coloring and it smells delightful!
What a winter we've had (not). So little snow this winter really has me in a funk. I know, what an odd bird to be sad about a snow-less winter but my little one and I enjoy playing in the snow. That and I'm itching to start gardening but I know, being in the climate we are in, that that could be a huge mistake. As soon as I would plant something it will snow like it has never snowed before.
Hmmmm, that's a thought!

So I wait. 
I have my vegetable garden planned. I will be starting some seeds soon and need to build a couple new raised beds to accommodate the rest of our veggies. Then there is the fence that needs to be put up around all of our delectables. The deer and other critters will have a feast if I don't erect a fence. Unfortunately, it is too muddy when the temperature is right for building and when the ground is solid, it is frozen completely. Neither state works to place posts. Thus, my frustration with this winter builds. 

In the meantime, school has started. I'm taking a marketing class and am writing a marketing plan for Busy Little Elf. It is nice to be able to think about why I started the business and where I would like to take it in the future. As things come to completion I am sure you will hear about them. For instance, I am working on my packaging. I would like it to be consistent and of a level of quality that my other competitors don't offer. I am looking at what makes my elves different than other craftsman's elves and how they can can stand out from the rest. I have been working on new elf designs, many of them are very Mid-Century inspired, and hope to put together kits for people to personalize their own elves at home. 

 I just registered my little one for Kindergarten.
I found out that he will be in school for about 6 hours everyday, Monday through Friday. I am not looking forward to the silence. I was always okay with silence before I was married, I reveled in my alone time but now things are just different. Often, my little bug is my inspiration. It is not always a direct inspiration. Sometimes it is just me being relaxed in his presence that spurs on the creativity. But surely I will be able to get more accomplished than I have of late. (Perhaps even be consistent again with my blog posting.) And maybe my house will actually be able to be cleaned properly. When the boys are home it's like picking up after small hurricanes. And I'm already a whirling dervish myself, strewing arts and craft supplies throughout the house behind me. 
So a neat house will be nice. But I will still miss my bug.

A new start is in the offing. 
For now, I will just sit in anticipation and dread. A healthy dose of both. Knowing that it will be better than I can even imagine while more difficult than nearly anything experienced. 
I will fill my time with planning and gardening and making cute little creatures. 
After I make the most of my unlimited access to the bug. (of course!)

Sunday, December 18, 2011

A Last Minute Craft for Little Ones: Gingerbread Boys


Every year I give the little guy a craft project so he can make some gifts to give to his loved ones. Last year we made Snowmen; this year we are making Gingerbread Boys(or Girls if you add eyelashes). It is an easy peasy idea. I've included a template to use as the body shape. We used left over cardboard inserts as the body since they are nice and sturdy but you could just as easily use brown construction paper if you have it on hand. As a matter of fact, every thing we used was what we had on hand. I'll give some possible substitutions.

What you'll need:
Cardboard
All purpose shears (we used our kitchen shears)
Construction paper (we used black, red and green glitter paper)
Large paper punch
Ric-Rac ribbon( I had some that is felt-like but any kind would do. If you have pinking shears, you could even cut out strips of plain white paper)
Small glitter pompoms (you could use construction paper punches instead)
Body template
All purpose school glue
Black Sharpie marker
Satin ribbon(for hanger)
Any other additions you'd like; crayons, glitter, markers, paint

body template
Step 1: Cut out body template and trace onto cardboard or brown construction paper (I traced it onto the back with the sharpie marker) Cut out body. Depending on your child's cutting ability and strength they may need help with this step.


 Step 2: Punch out some black and red circles. Glue in place for eyes and cheeks. Your little one can also paint or draw on the face.


Step 3: Add some buttons. We glued on glitter poms but feel free to use real buttons, punched paper, drawn or painted buttons, whatever you have available.


Step 4: Add "piping". We used our ric-rac, you could also 'pipe' on some glitter glue, dimensional paint, pinked paper strips, yarn, painted or drawn zigzags.


Step 5: Draw on smile and other features. This one has eyelashes so we consider it a girl. You could add a nose of some sort; we didn't like the ones we came up with no we skipped it. Add hair, clothing, etc. If you want to use the finished Gingerbread boy as an ornament punch a hole in the top center and run a ribbon (or yarn) through it. They are fairly large but very light weight and would look adorable hanging on the bottom half of the tree.

Hope you enjoy this little craft tutorial. I hope to add some more in the upcoming months.
From Our Family To Your Family, We Wish You a Very Merry Christmas!

Saturday, December 3, 2011

christmas elves


Finally, we are getting our decorations up. With school and the craziness, we haven't had a chance to get them up as early as I usually do but after spending the better part of the day cleaning and decking, we are finally getting somewhere. I'm really loving the kitchen this year. Since we are in a house built in the Sixties, I really am playing up the Mid Century inspired decorations and featuring some of my collectibles.(one of which I decimated when I was cleaning it to put out. I glued him back together but killed whatever value he would have had. Oh well! He's still cute)


I love when you take pictures of your home and you realize that there are certain things you should find a new home for. Case in point, my mass quantity of gallon sized Ziplocs.  I use them when I make batches of play dough. Needless to say I've been making many batches lately but I really need to find a better place to stash them during the holidays.

Haven't found my mistletoe that I hang above my kitchen window and I think I need to make ribbon tie backs again, The windows look so much cuter when the curtains are pulled back. I'll have to get a better picture of the window. It looks fabulous with the new wall color (my favorite shade of red)

Here's a picture of the little train I decimated (not the sponge holder, the cutie to the right). Can't really tell he's broken but I ripped Santa right out of the cabin! You can see the wall color, and I can see where I need to do a few touch ups.

 A little helper elf helping me hang the garland. (he really can't help too much since he's a bit vertically challenged, but he tries)Tomorrow, we get the tree that will sit in front of this window. The screen to the left will be gone. I thought I could hide my bookshelf but I'm not sure I like how it looks.

The beginning of the hutch decorations. Much cuter now since I added glittered glass ornaments, pine cones and little gold star bursts. Just need an extension cord or power strip to light it. Also, all my cutie Holt Howard Santas are all pulled out. They bring me so much joy to look at. Of course the truck won't stay there but it was a good parking place at the time.

So that's about it for now. More has been accomplished but I don't have the photos yet. (The bathroom is super cute with a silver tree and pink, blue and purple ornaments) Those and the Christmas tree I will share in a few days.

Monday, November 21, 2011

A New Look for a Retro Christmas Kitchen

I blame my decorating obsession on being a frustrated window dresser.

I have been working for a couple years to get our house decorated just right for the holiday season. I do it primarily to create memories for the little one but, let's face it, my stint as a visual merchandiser made me rather particular (read:obsessed) about decking the halls! 

It's always a long process of trial and error and, since we've moved around a bit, readjustment to different era homes and different architectural features. We currently live in a super cute early 60's ranch. It is small but I think it lends itself well to Christmas decor; Since I LOVE Mid-Century Christmas, I had to go a bit kitschy in my kitchen. This year it really seems to be coming together.  Luckily, my son has declared himself a helper elf. Every decorator can use one and, even though he's 4, he is nice to have around and actually quite helpful. Recently, we made a new wreath for our kitchen. It's not completely finished, I hope to add an elf or two, clinging desperately to a branch. But for the most part it is finished.  I chose a candy theme because one of the memories I have of my mother's decorations when I was a child was her glittered plastic candy garland that she hung on the door frame in the kitchen (that's right, I'm not that original in my theme, just sentimental)

SO here's an 'almost' tutorial. If you ever need info please ask and I can answer and amend the post. Wasn't able to take photos of the wreath in progress because, well, I was a bit obsessed about finishing it and I wouldn't pull myself away long enough to take them :o(


It all started with a 24 inch white pine style wreath.  


Then different bulbs were gathered. Most we found (pretty inexpensive) at our local craft store; the others came from Target and coordinate with other decor in the kitchen(to be shared later:O). I used all shatterproof bulbs since it is located in a high traffic area and we have a wee one in the house. My theme is candy in the kitchen so I picked focal ornaments that were giant candies in our kitchen Christmas color scheme(Lime, red and white) 


Then the little one and I placed the ornaments around the bare wreath to see how we would like to do it. We started with the placement of the focal ornaments and added the largest ornaments down to the smallest. It's easier to fit everything in this way and you can tuck the tiny ones in to fill any spaces. I then wired every ornament to the base with white wire. 

Originally, we had picked out a red velvet ribbon with glitter stars to finish it off but decided it looked pretty nice without so we're trying it out for a little while sans bow. I do reserve the right to amend this decision at any time :O)
[there is a nice little spot for it in the upper right quadrant]

All that is left for the wreath is to make an elf and hang him precariously from a branch or candy cane so he dangles in the center. Hope to make him look surprised and in desperate need of assistance.
 In the meantime, the helper elf and I will continue to decorate the kitchen and the rest of the house. 

Can't wait to share the little pass thru window treatment! It was inspired by a Home Depot commercial and I'm very happy with the look. Uber Mid Century feel! 

Well that's it for now, still have ornaments to finish painting!  Until next time, 

Have a fabulous Thanksgiving with your loved ones and, most importantly, enjoy!
 Pin It