Pages

Wednesday, January 9, 2013

In the Veggie Garden – Let the Planning Begin


It’s a new year and, for some reason, as soon as the holidays are past and the un-Christmafication process is complete, my thoughts turn to my veggie garden. I had some success last summer with my vegetables, even though the temperatures made it rather unbearable to spend as much time as I had hoped, but I was unable to make my little garden as beautiful as I wanted. This year I am planning to get an early start; planning always helps. 

 The list of vegetables that I will grow this year has been fine-tuned and a few new varieties have been added where others have been deleted. I had an overabundance of yellow squash last year and they crowded out my more preferred zucchini so I will only plant my favorite variety of zucchini. I have added two grains: Amaranth and Quinoa. The Quinoa I have chosen because I have become quite enamored with it and Amaranth because it is supposed to help draw certain detrimental bugs to it. 

I had the idea of putting herbs between our neighbor’s yard and our yard because deer are not too fond of strongly scented plants and I figured both our neighbors and we would be able to harvest it when we chose. I will start the seeds before the last frost and get those in place well before it gets unbearably hot this year.  Our herbs for 2013: Italian Parsley, Oregano, Mint, Basil, Thyme and Marjoram.

 
I have whittled my tomatoes list down from nine last year to five this year. I have chosen to keep my favorite types from last year (Genovese, Pink Brandywine, Lemon Oxheart, San Marzano Lungo No.2) and not bother with some of the others (Purple Russian, Riesentraube, Snowberry, Sungella and Pink Caspian). For some reason, these varieties struggled. Some had blossom end rot and, when I cured that, they were then attacked by tomato horned worms (I HATE those little critters!)  Some I just wasn’t impressed by their flavor. I added the Purple Cherokee tomato to the other four I retained.

In place of the deleted tomatoes, I have added two varieties of eggplant and peppers.  I never managed to get my peppers and eggplants planted last year, with the extra room this year I shouldn’t have the same problem. The varieties of eggplant we are trying this year: Ping Tung and Rotunda Bianca Sfumata Di Rosa. The peppers for 2013: Lipstick, Melrose, Sweet Yellow Stuffing and Red Marconi.

The Dragon’s Egg cucumbers were a huge hit with my little one, as were spinach and leaf lettuce, so those remain but the Swiss Chard was not well received so I will nix that or plant it sparingly. (We will be trying Kale in the fall) 

I will try to plant my onion seed on time (early) this year. Last year, I overlooked it. I have about three or four different varieties, some spring type onions and some bulb.  I hope to also plant a hedge of Lavender near their home since I read that it helps prevent some of the pests that attack young onions.

I also added to my selection of beans this year. Last year, I was late getting them into the ground and with the early arrival of hot temperatures, they did poorly. I also hope to create a bit of a garden arch to shade my pathways between raised beds.  There are also a variety of other veggies I’m trying this year (broccoli, cabbage, Brussels sprouts, and kohlrabi) I’m a bit nervous about these as some are suppose to be trickier to grow than my other veggies, but the family likes them or is open to try them so why not?


Over the next few weeks, I hope to make some headway in the aesthetic planning of the raised bed area. Above is the color palette I'm thinking of to add a pop of color to the cinder blocks and planters. The garden is fenced in with rather unattractive fencing but I am sure there is some way to make it look prettier than it does. 

The other problem I had in 2012 was weeds coming up through the gravel drive and around the fencing. Pavers around the perimeter seem to help keep them in check around the garden perimeter but the drive was out of control. I read that baking soda twice during the growing season helps to keep anything from growing so I will try that in the gravel areas and where we can’t easily weed. 

Here's hoping for a more temperate spring where I can make great progress beautifying my little corner of Heaven! I will try to document any progress in photos.

Tuesday, January 1, 2013

New Year, New Goals


 Happy New Year!

I have severely neglected my blog in 2012. Since it is a time for new beginnings, I have decided to refocus on keeping this blog more active than it has been in the past year. Actually, Busy Little Elf will take a few new directions this year as well. I am still in school and have one class left before I receive my entrepreneurship certificate. After I complete the certificate, I hope to take a brief break from school to focus on getting my business performing to where I want it to be and allow my husband to take some computer classes.

I guess it is always important to look at the outgoing year’s events when planning for the future. It has been an eventful year. My son turned five this summer and started kindergarten in August. All summer long he was enrolled in nature classes and swimming. He also started playing soccer. Keeping him active kept me very busy during a time when I have normally focused on creating for the Etsy shop. I still managed to get new pieces completed and finished some other pieces that had been sitting on my table for a long time. Unfortunately, not as many as I had hoped for and I still have more unfinished pieces that I hope to finish up before I start the new pieces for 2013. 
My garden got a little out of control this past year. Early hot, humid days kept me inside and prevented me from making as much progress as I would have liked. My vegetable garden did exceptionally well and I’ve already made adjustments to my grow list and have ordered any new seeds I will need for the next growing season. I will need to start some seeds soon. How quickly time passes! I can’t believe it’s time to start planning my garden. I do have some seeds I will not be using this year. If you’d be interested in any leave a comment with your email address (I will not post it for all to see) and I will email you with what I have. I would be more than willing to mail them to you if you could use them.

I started mentoring some of the kids at my son’s school. I meet with five fabulous boys and girls and read with them an hour each week. I really enjoy it and look forward to continuing to mentor in the New Year.

Our family has been attending more local community events and this year attended the Grinch reading Dr. Seuss’s “How the Grinch Stole Christmas” from the top of the Fairport Harbor lighthouse. I hope to send a proposal to the mayor and historic society that holds the annual event and try to get involved by creating Grinch inspired display windows in some of the vacant storefronts.

The biggest “event” for me in 2012 was that I got a new car. My old car had a leak somewhere in the frame and I had a veritable koi pond in my backseat so we had to replace it about 5 years sooner than we hoped. It’s not fancy (a KIA Soul) but it gets us around and keeps us warm and dry and immersed in music not water. It will also allow me to do more craft shows as it has fold down seats so I can fill it with lots of handmade goodies. (Of course, it also worked quite well for hauling soil, bagged manure and pavers for my garden!)

So for this New Year, Lucky 13 (my son was born on the 13th so I consider 13 a very auspicious number for us):

  •   Write, Write, Write: Continue blogging on a regular schedule (I used to be able to do that! I remember it fondly)
  • Write and submit a proposal to Fairport Harbor for their Grinch event
  •   Create, Create, Create: Create a number of sculptures based on literary characters, in particular, the Wizard of Oz, Alice in Wonderland, the Grinch as well as new ornaments
  •  Finish up any previously started projects especially those that were targeted as gifts. :o(
  • Promote, Promote, Promote: Which means studying up on the newest methods of self promotion and then doing it
  •  Get a better handle on my little flower garden. I really need to mulch it well this year, the weeds are winning!
  •  Continue learning how to manage a successful bountiful organic vegetable garden and to turn the space into an area where our family can sit and enjoy the outside space. I think I may finally have enough wooden discs from our Christmas trees to make a path between raised beds. Now I need to decide on a theme for pavers that I can place on the gravel between the house and the drive so I can create a seating area. I keep leaning towards Alice in Wonderland for some strange reason.
  • As always, get my studio organized and clean (I laugh hysterically as I type that, sounds so easy and yet, it is always the last thing to be attended)

Sunday, October 28, 2012

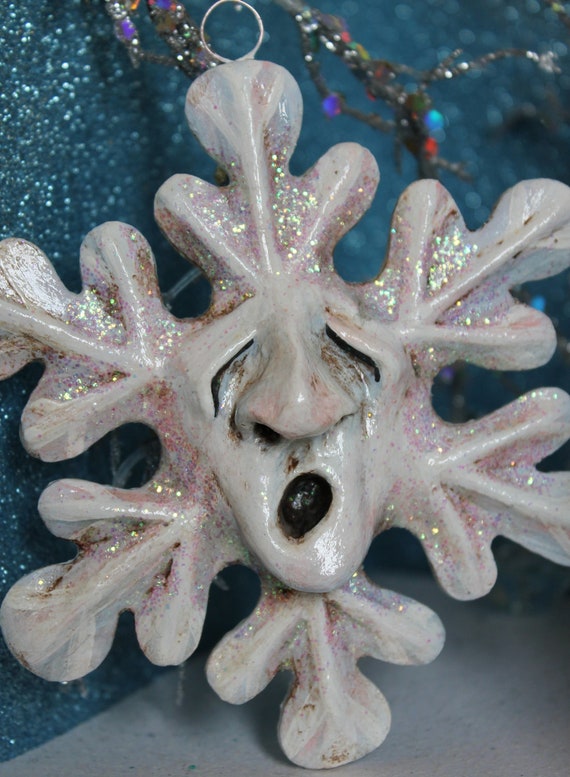
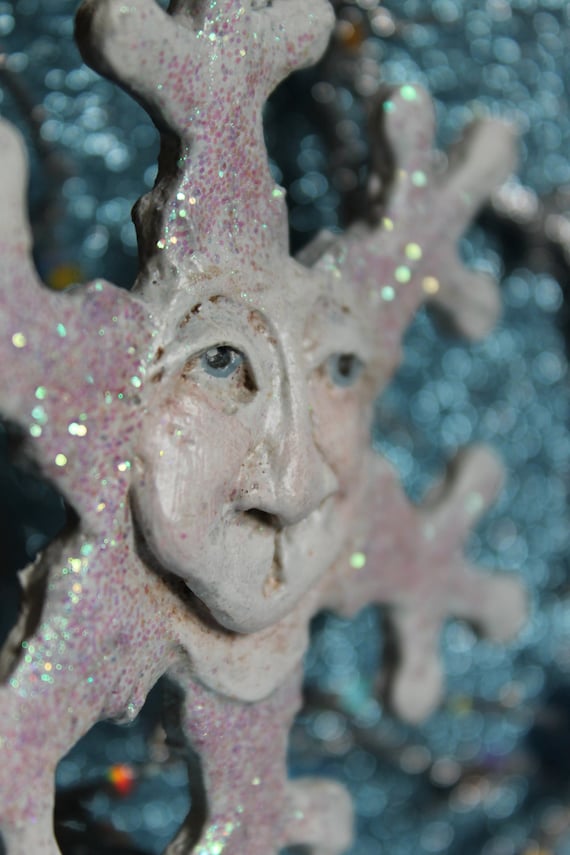
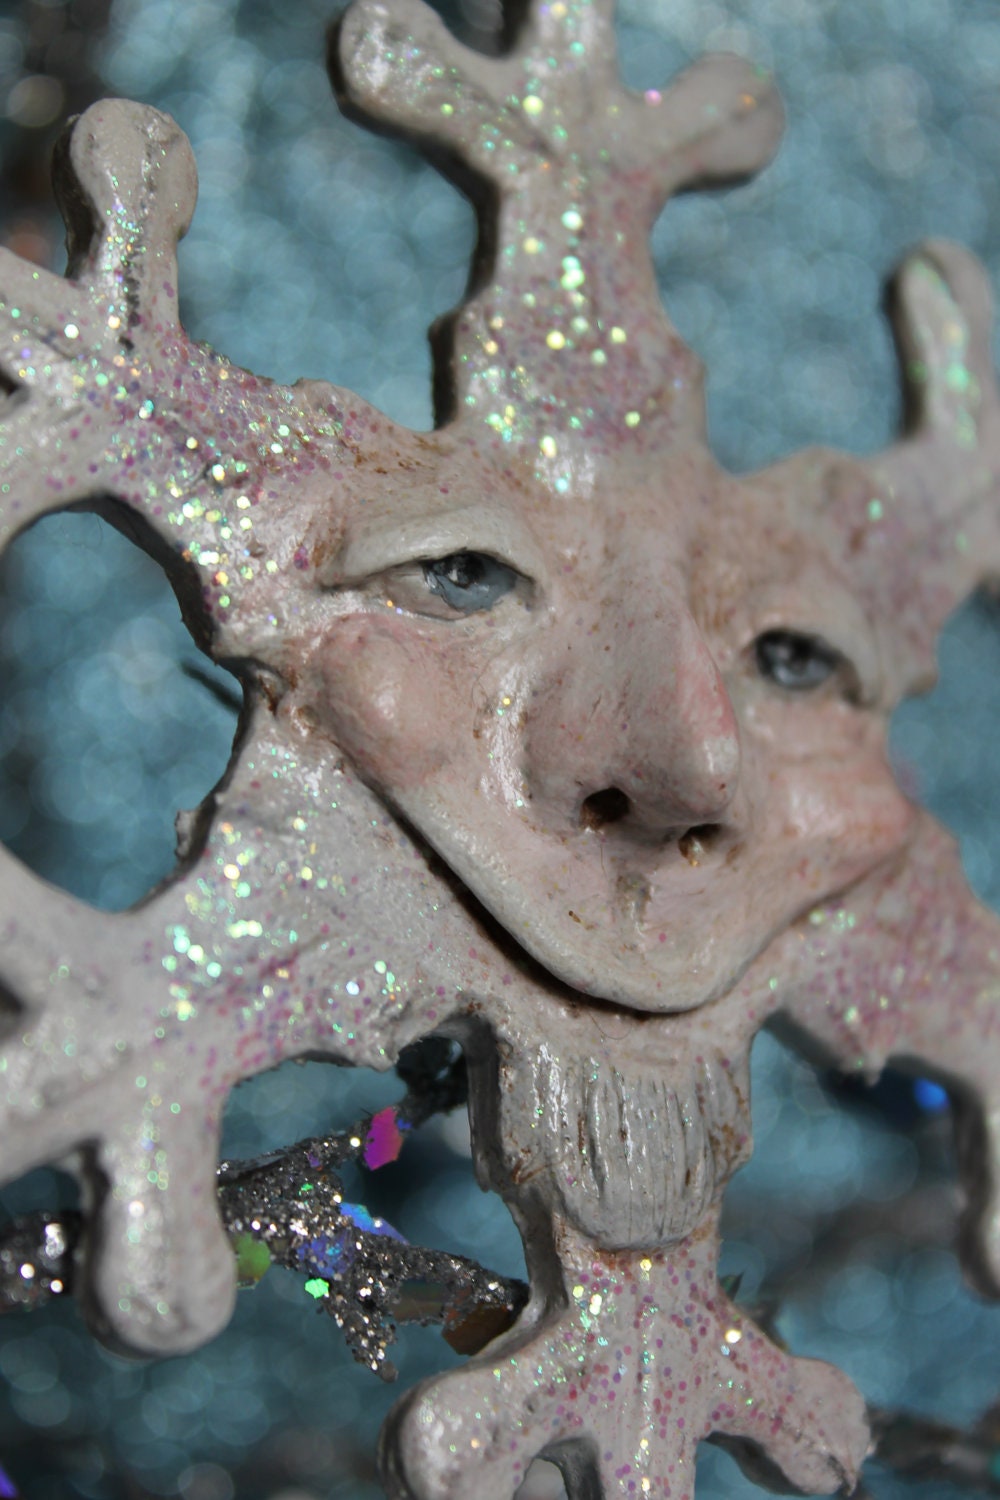
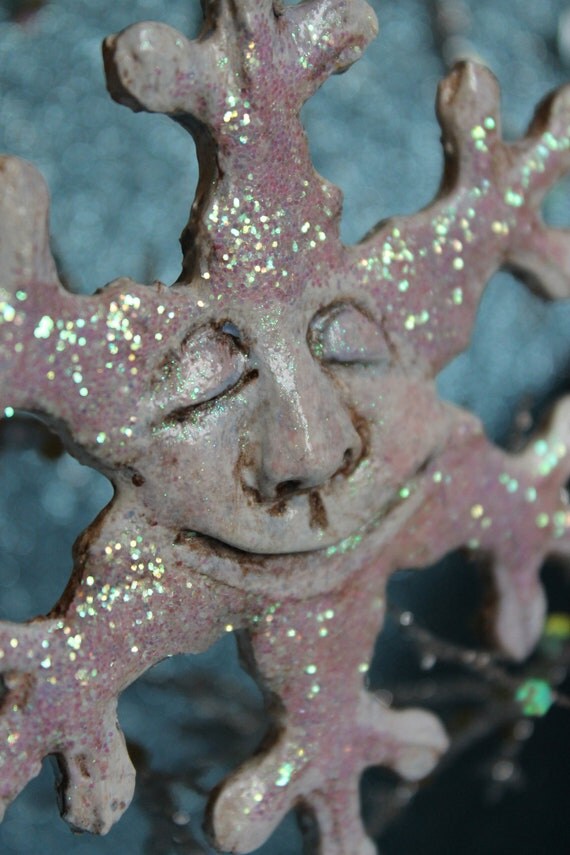
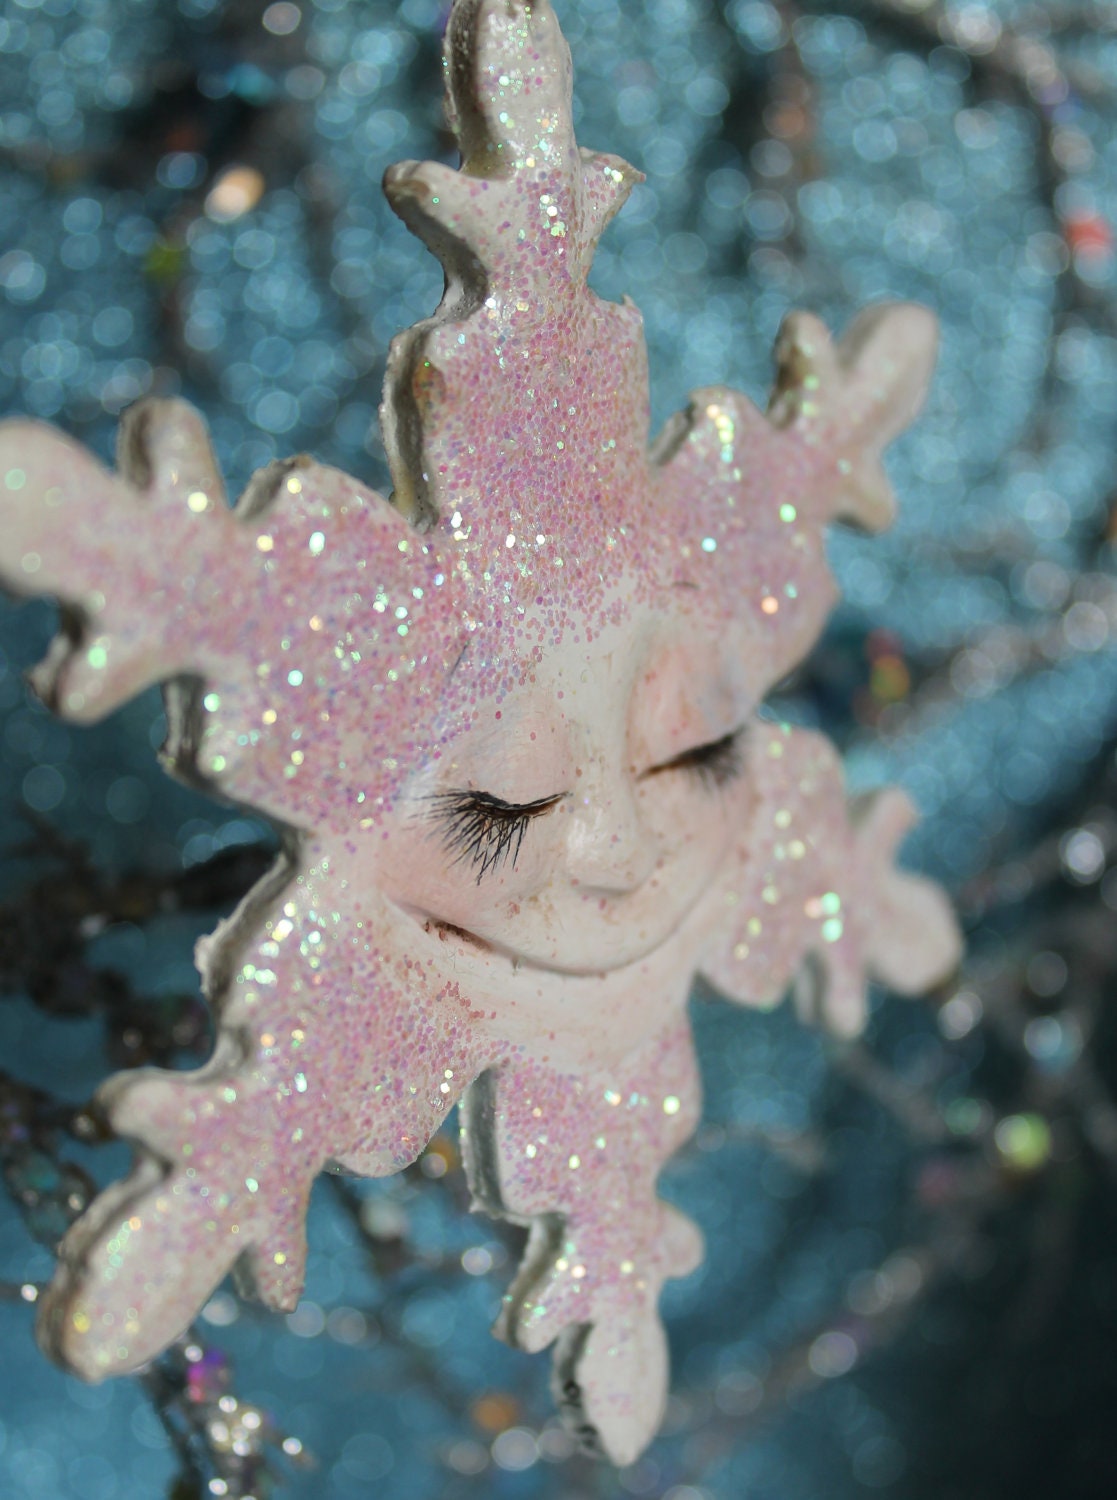
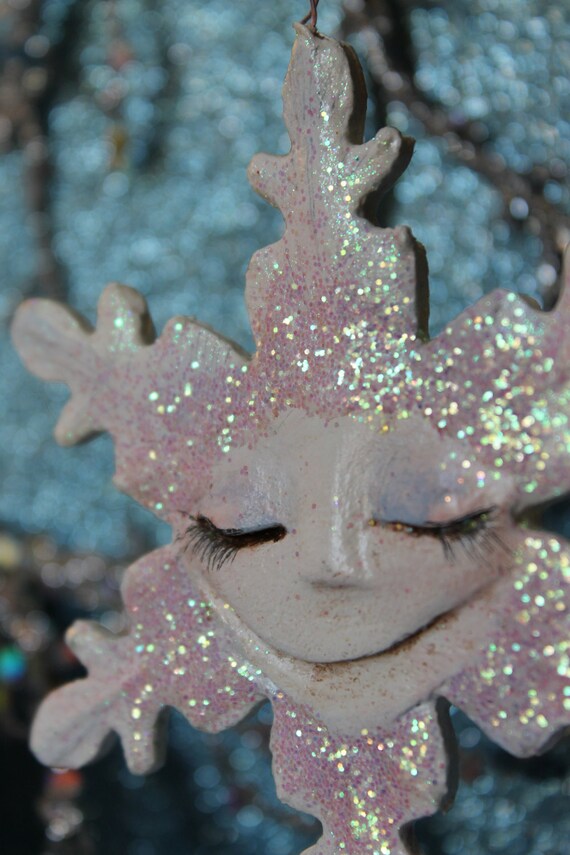
Available Snow Folk 2012 - Part 2 (the Snowflakes)

$30
$30
$30
$30
$30
$30
$30
$30
$30
$25
$25
$25
SOLD
$25
$25
These are the snowflakes currently listed in the Etsy Shop.
There are a few others close to completion that will also make their way into the shop before Christmas. I will do another posting with those as soon as they are done. 

As with the Snowmen, these are eligible for Free Shipping when you use the code:
FOLKSHIPFREEBLOG12

Tuesday, October 16, 2012

The Paperclay Process


 I spend a lot of time looking at other artists work and, in the past, spent much time competitively pricing my work with those artists' work. That was until I realized that my process is often different than theirs. The other day I had this epiphany; if I didn't realize this without much contemplation how would my customers? So a post about my process and what I offer my customers when they purchase from Busy Little Elf was probably in order.


Step one of the process for Paperclay ornaments and other sculpts is to build an armature.
I had to dig to actually find photos of this part of the process, it's second nature so I never think about photographing this step. In this photo, I am using store bought wooden shapes. These are the easiest and fastest to use and saves time (even though I do now have the ability to design my own shapes and cut them out) As you can tell, some of these have been soaked in water and shaped (some bent, some actually broken to achieve the shape that I want). A metal hanging loop is made out of wire and attached with glue and some pencil work is done so, when I cover the piece with paperclay,  I have an idea of what I will sculpt.


Step two is to apply paperclay to the armature.
 In sculpts like these, it takes more time than the ornaments. Bodies have to be built up arms added and formed, clothing sculpted, facial features, etc. It is really fun to play in clay. Generally speaking, I try to let the character form on his own. I usually have a rough idea of what I'm going for but I let the piece develop its own personality. At this stage, you often have to let the sculpts dry so you can add more to them. Sometimes you get small surface cracks which get repaired with any new additions of paperclay.If there are any eyes or other parts that will be set into the paper clay, it happens before the piece dries(although I like to do it as it is drying not when it is still freshly sculpted). After fully drying, the piece is checked one last time for cracks and they are repaired. If I do a thorough job, I usually don't have to worry about cracks again.


Most of the paper clay artists whose work I love tend to use much simpler armatures than I do and focus on the finishing details.  Sculpted details take time.The plus to using a simpler sculpt is it is much easier to cover the armature which ultimately saves time and allows a lower price point. I've thought about doing this to keep my prices low but my characters wouldn't be the same and, artistically, I'm just not willing to sacrifice the character. Plus, I like the way the sculptures feel in my hand with their smooth edges and flowing details.


Step three consists of sanding the dried sculpture. 
I spend way to much time sanding but I like my pieces to 'feel' good so
 I sand until they are smooth and have no noticeable imperfections. 
Then I wet my hands and rub the entire surface until it 'feels' right to me. 
(a bit weird, I know, but the tactile experience of my work is just as important to me as the visual)


Step four and the painting begins.
This is where I am a bit different than most of my competition. I start with a white gesso coat and then lay in solid colors from there. Many of the colors need a good two to three coats to look good. The more colors involved the longer the painting process. I don't limit my palette (how many colors used). After all the solid colors are laid in, I go back and do subtle shading or add detail to the solids. Often the details have to be painted two to three times to be sure the colors are opaque. (again, some of my competitors just do their details in one coat on top of the solid base. It looks okay to most people but since I want to offer an heirloom quality piece, one that can be handed down, I like to pay close attention to the details) Is there anything wrong with using fewer solid colors with limited painted details? Absolutely not, I collect many pieces by artists that do just that, it just doesn't take as long to produce which means the price you pay should be more reasonable.


Step five happens after all the painted features are done.
 A coat of varnish is put over the entire painted surface and, once it dries, an antiquing gel is painted over the entire surface and is then wiped off until the desired effect is reached. This antiquing really makes sculpted details *pop* and adds depth to the entire piece. After another coat of a UV protectant varnish, the piece is almost done.

The final step includes attaching any separate pieces (the white rabbit's pocket watch), any mixed media details (the crepe rabbit's cuffs and collar), glitter, chenille, and felt bottoms on the bases. Obviously, not every piece has all these different finishing touches but most have at least one or two. The more that gets attached the longer it takes. Most of my favorite artists use many finishing touches. What can I say, I'm a sucker for the attention to details!


In addition to all these steps I take to create each piece, my attention to detail continues to the packaging of the piece. Each piece is packaged in a gift box where possible, some of my larger sculpts don't have boxes they fit into but they are packaged in a shipping box with beautiful snowflake tissue. I'll do another post with examples of the actual Busy Little Elf packaging, but the attention to detail translates to that aspect as well as the creation of the pieces.


Another aspect of Busy Little Elf that many people don't realize is that I stand behind my pieces. Even if it has been years since you purchased the piece, I am willing to do minor repairs free of charge and major repairs for a small charge(actual repair charges depend on how severe or time intensive the repair is)Shipping to me would be the customer's responsibility but return shipping would be complimentary. I can even try to recreate a piece if one is irreparably damaged or lost. (It happens.) The cost of this would be reasonable and determined on a case by case basis. Again, I consider all my pieces to be heirloom pieces which means that they need to last for a very long time and, preferably, in tip top condition. The only thing that would change this is my untimely death, which I have no plans of so we should be good for another 30 or 40 years, maybe more, God willing ;O)